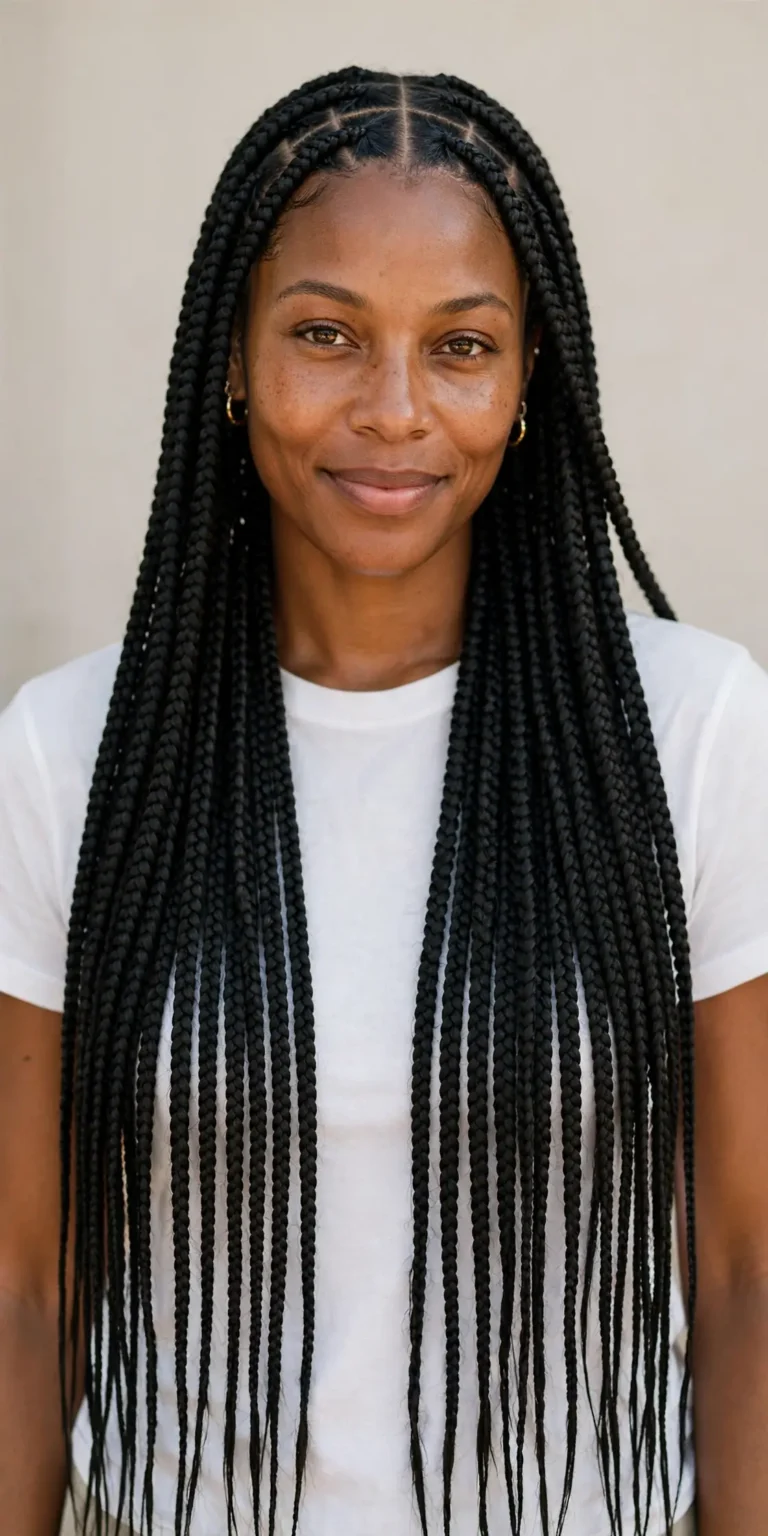
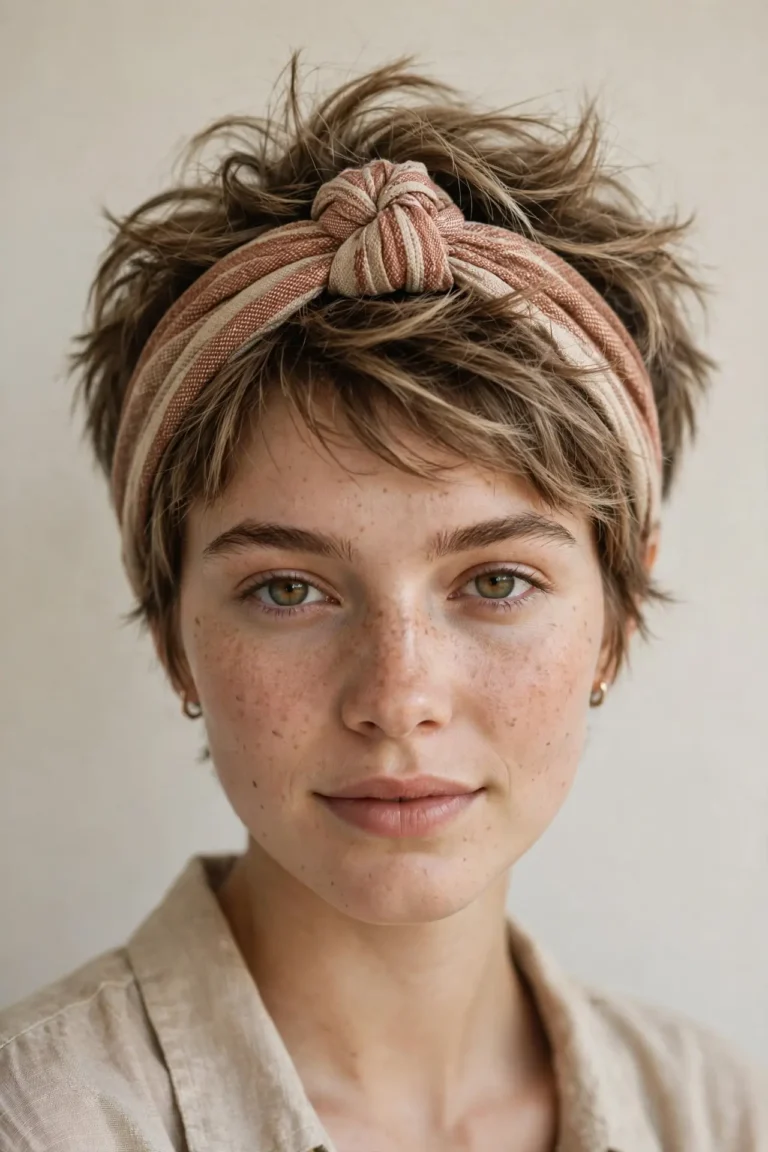
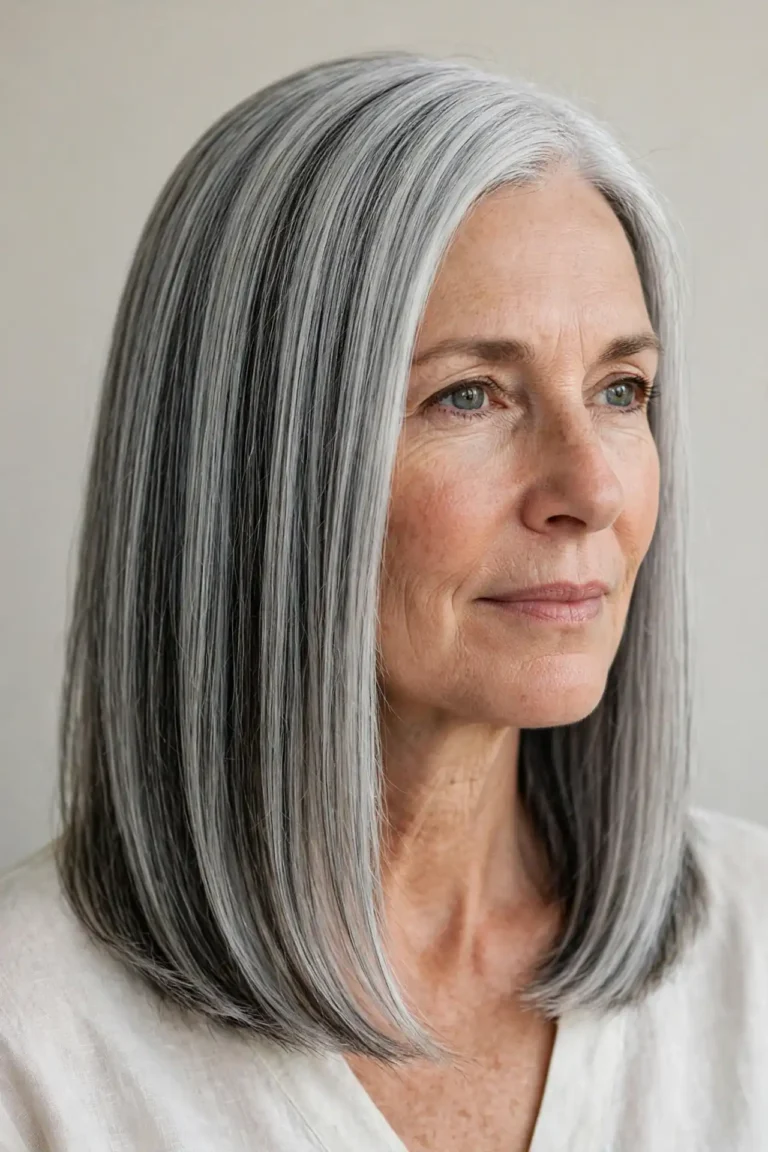
12 Winter Protective Hairstyles for Women
Introduction
Winter is brutal on natural hair — icy wind strips away moisture, dry indoor heat invites breakage, wool hats cause frizz and static, and suddenly your wash-day results vanish by morning. The right **winter protective hairstyles for women** solve all of this at once: they tuck away your fragile ends, reduce daily manipulation, and keep your hair warm and hydrated under layers, scarves, and beanies. In this guide you’ll find 12 cold-weather styles designed specifically for natural hair, from silk-lined beanie looks to scarf-wrapped crowns and hat-friendly updos, each with practical tips on sealing in moisture and stretching the style through the season. And when the festive calendar fills up, these protective bases transition beautifully into celebration-ready looks like these elegant Thanksgiving hairstyles for women.
Winter Protective Hairstyle for Women: Silk-Lined Beanie with Loose Braids
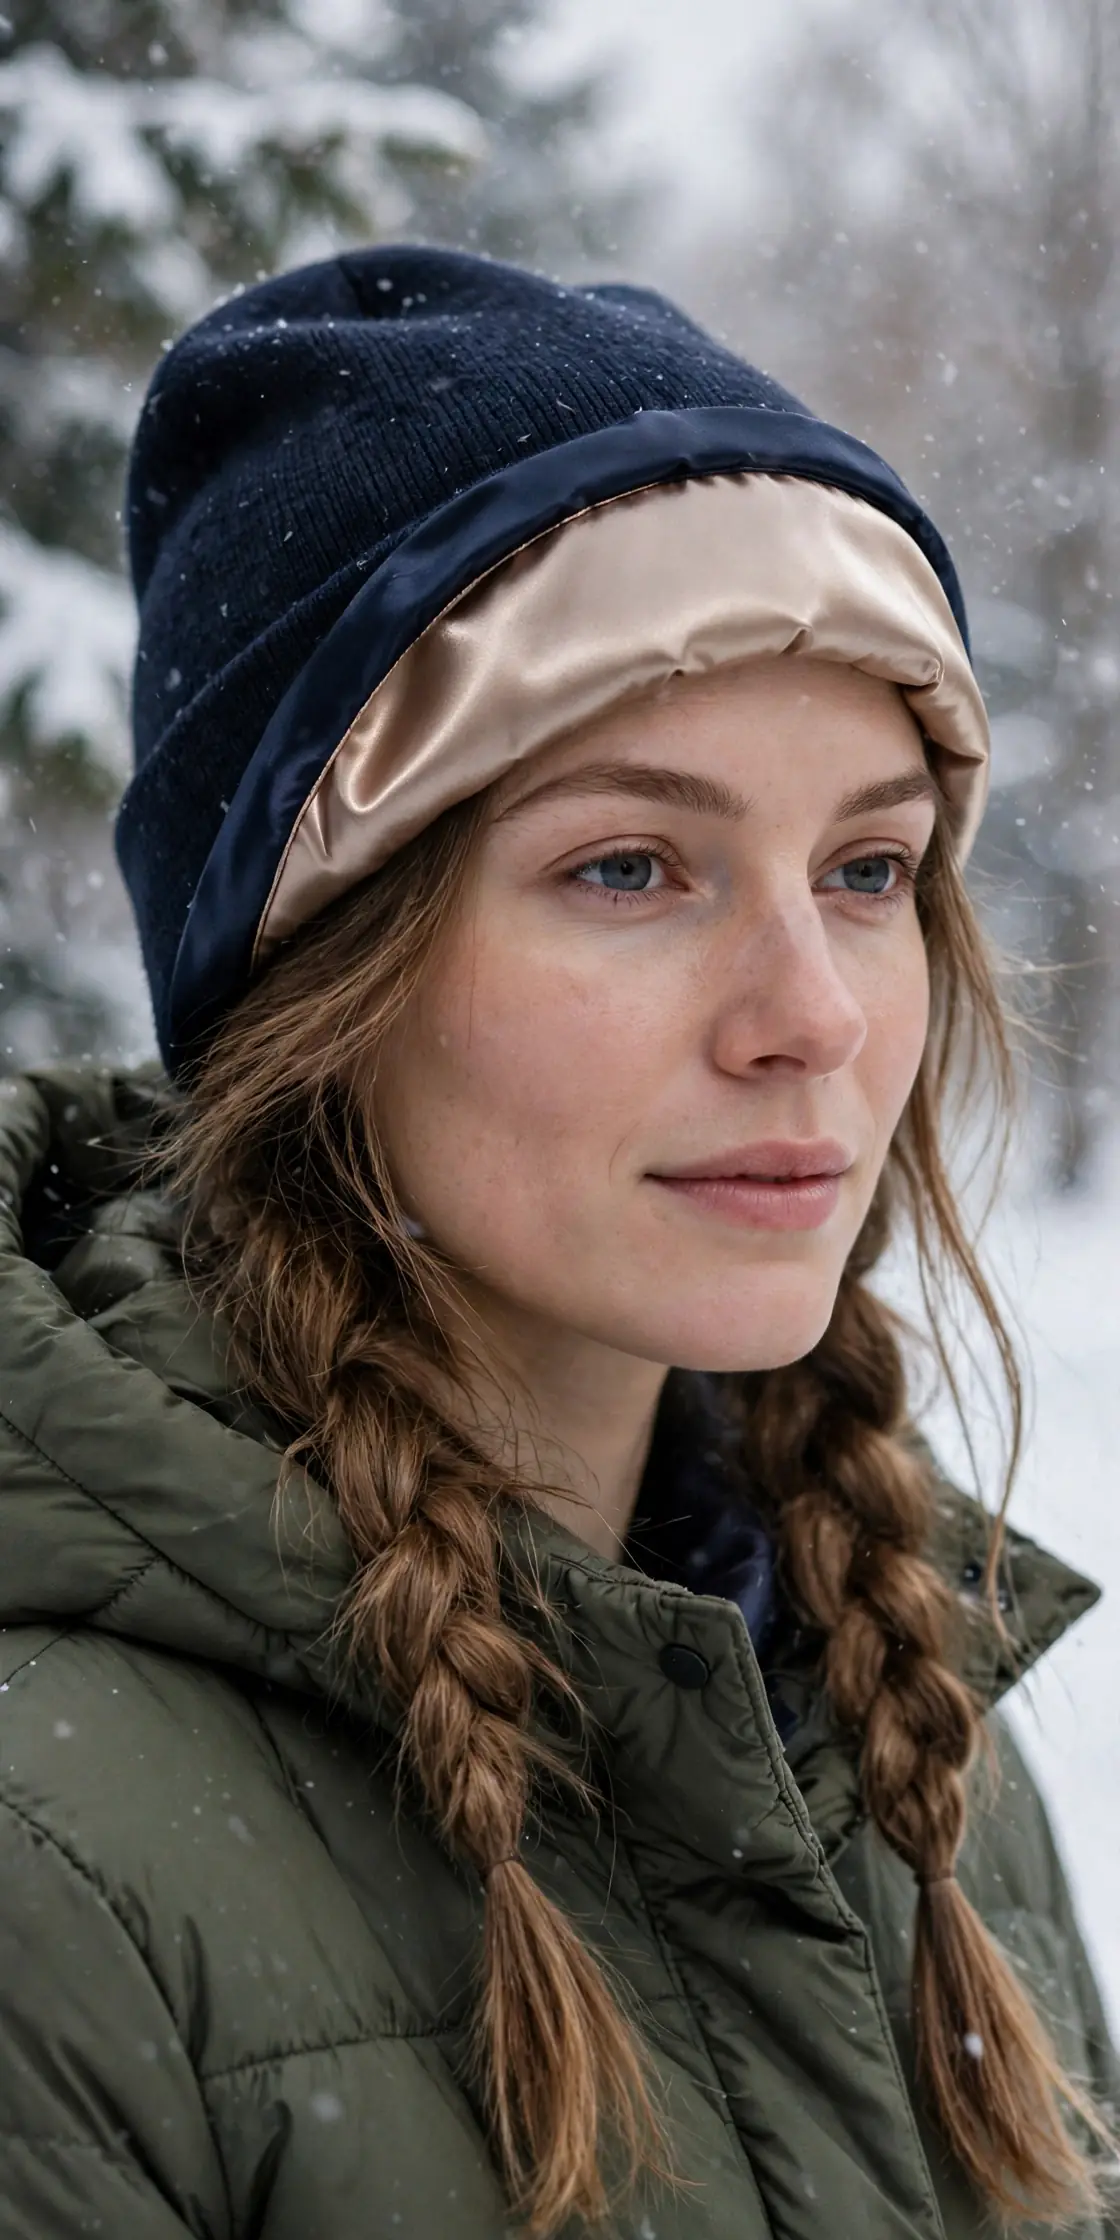
Few winter accessories are as iconic as a chunky knit beanie, but the scratchy wool of a regular hat is a moisture thief that leaves natural hair dry and frizzy by evening. A silk-lined beanie is the winter-smart answer: its smooth satin lining glides over your hair instead of roughing up the cuticle, so you get all the cozy warmth with none of the hat-head breakage. Pair it with two loose braids worn forward over your shoulders, and the style does double duty: warmth for your scalp and crown, wind protection for your lengths. This look suits every face shape and works on shoulder-length to long natural hair. Choose a beanie in a rich winter tone like burgundy, forest green, or camel, and let the braids peek out for relaxed, lived-in winter charm.
- Braid on well-moisturized hair using the LOC or LCO method before the beanie goes on.
- Keep braids loose at the scalp to avoid tension headaches under the hat.
- Wrap a silk scarf under the beanie for extra protection on extra-dry days.
- Undo braids nightly and re-braid loosely to prevent matting at the nape.
To build this look, start with freshly washed, deep-conditioned hair and work a leave-in conditioner plus a creamy moisturizer through each section before braiding. Secure the ends with snag-free elastics, then slide on your silk-lined beanie. At night, take the beanie off and wrap your hair in a satin bonnet — the beanie is for daytime wear, not sleep. Re-moisturize your braid ends every two to three days with a light oil like jojoba to keep them supple, and re-braid once or twice a week. According to the American Academy of Dermatology‘s hair care guidance, limiting heat and friction during harsh weather is key to preventing seasonal breakage, which is exactly what this low-manipulation combo delivers.
Low Winter Buns Tucked Under Wool Hats

A low bun is the unsung hero of cold-weather styling because it hides your ends completely — and ends are the first casualties of winter dryness. Tucked low at the nape and slid under a wool hat or beret, the bun becomes an insulated cocoon: your scalp’s natural warmth stays trapped around the hair, moisture evaporates far more slowly, and your ends never touch a scratchy collar or the raw wind. This style flatters everyone with medium to long natural hair — sleek for the office, softer and textured for casual days. Because the bun sits below the hat’s brim, there’s no awkward bulk — you get a perfect winter reveal instead of hat hair.
- Smooth hair with a leave-in and a light gel or butter for a frizz-free base.
- Part the hair in the middle or on the side for a flattering frame.
- Coil the bun with the ends tucked inside, never exposed to the cold.
- Finish with a satin-lined hat or a silk scarf under a regular wool hat.
Start with moisturized, detangled hair, ideally stretched or on a twist-out. Gather the hair low at the nape, smoothing gently, twist it into a coil, and pin it flat so it sits flush against the head. Keep the bun small and smooth rather than voluminous so it fits comfortably under hats. Each night, wrap the bun in a satin scarf or bonnet, and refresh the edges with a little moisturizer as needed. You can comfortably wear this bun for a week or more, re-twisting it every couple of days; mist lightly with water mixed with leave-in before re-coiling to reset the moisture.
Scarf-Wrapped Winter Crowns
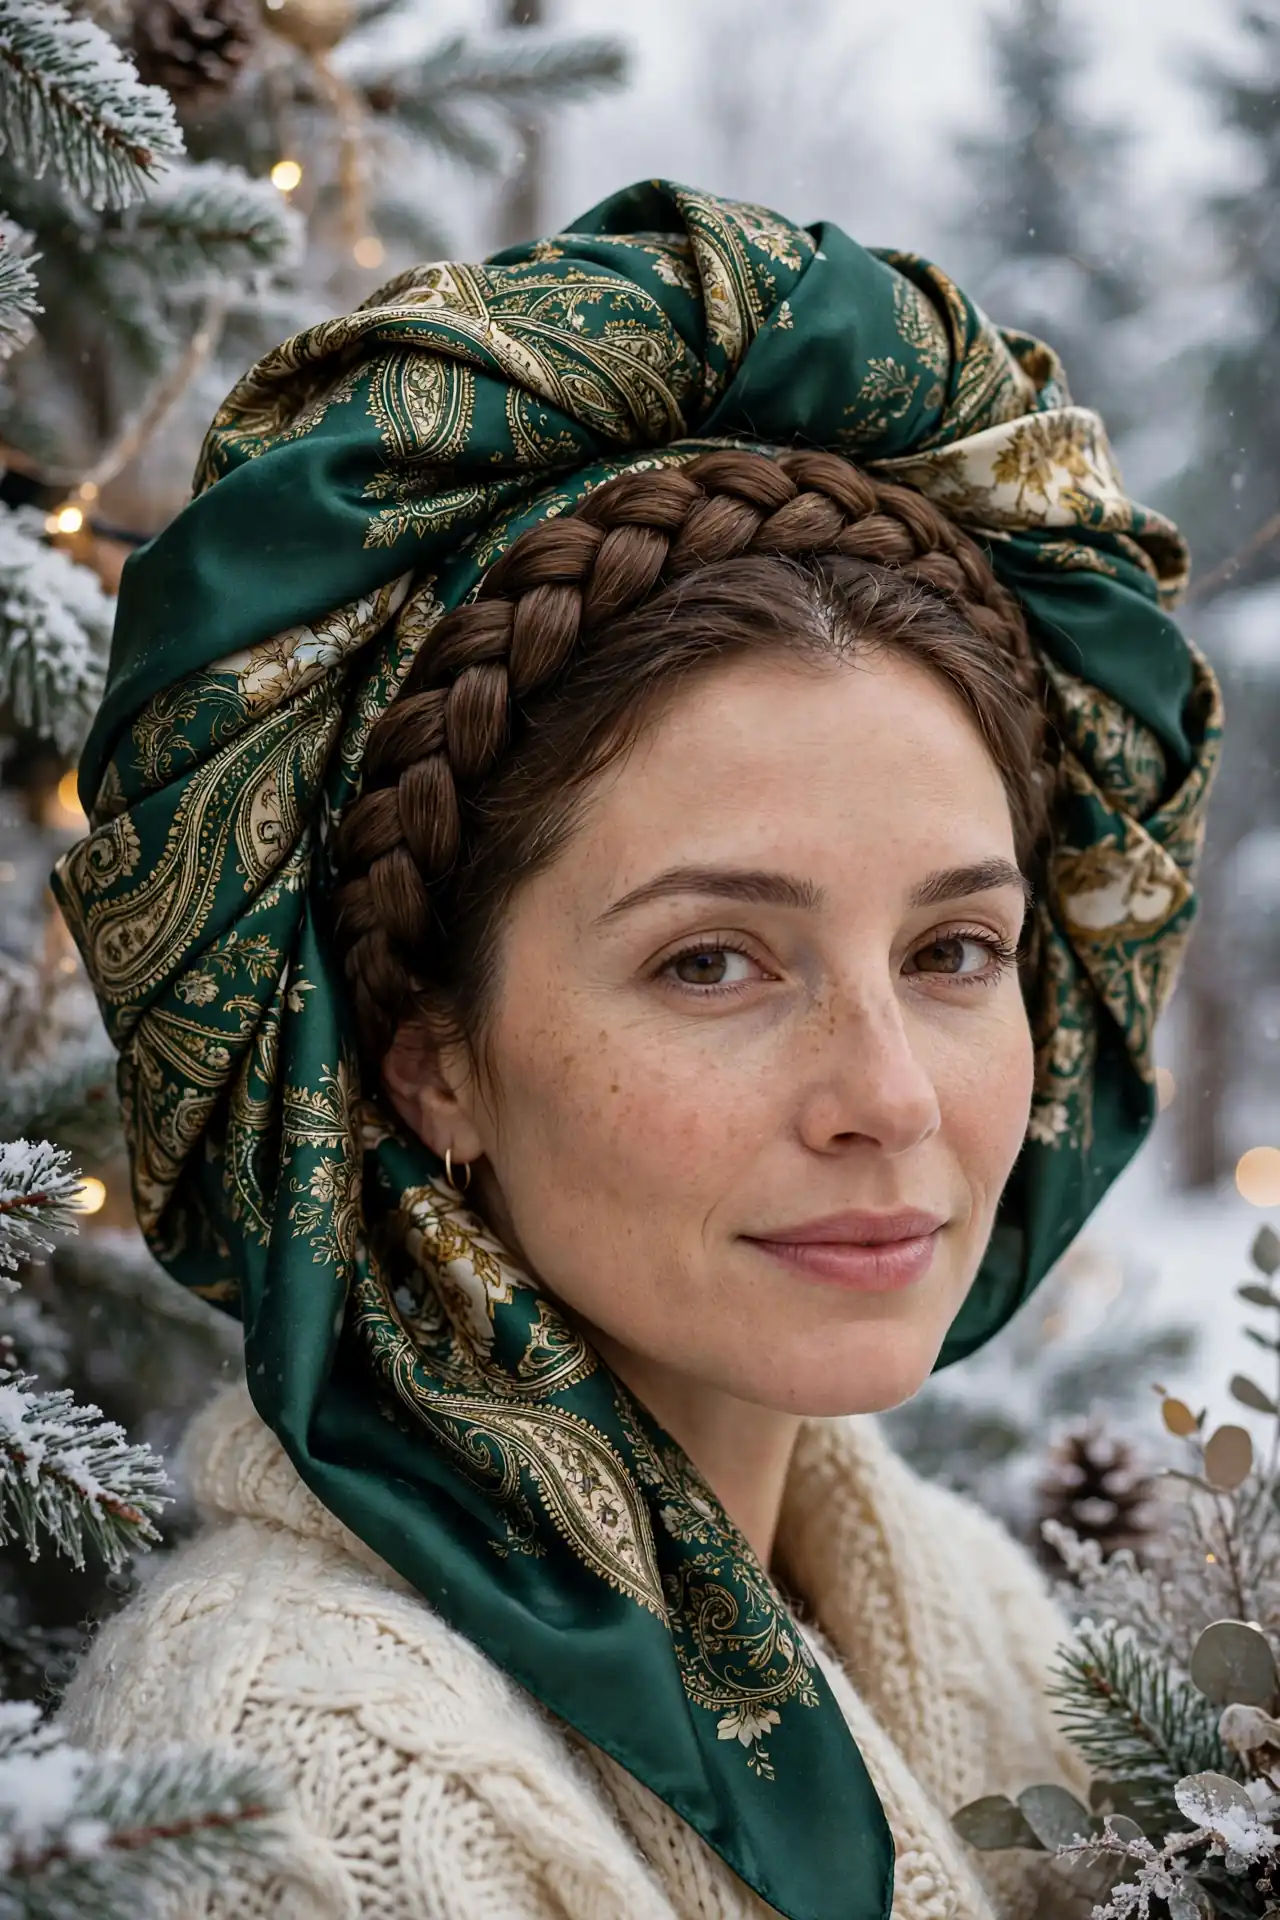
When the temperature drops and the wind picks up, a scarf becomes your hair’s best friend — and the scarf-wrapped crown turns that necessity into a head-turning style. This look weaves a large satin or wool-blend scarf into a halo around a braided or twisted base, protecting your hairline and edges from harsh air while framing your face beautifully. It suits all lengths, from short natural hair wrapped into a sleek halo to long braids incorporated into the wrap, and it works on every face shape because you can adjust how high the wrap sits. The look reads intentional and stylish, and a bold patterned scarf can carry an entire outfit.
- Choose a large satin or silk scarf at the hairline to prevent edge breakage.
- Wrap snugly but not tight to protect without causing tension.
- Tuck all ends under the wrap so nothing is exposed to the cold.
- Layer a wool scarf over the satin one on bitterly cold days.
Create the base by braiding or twisting your hair flat to the head in a circular pattern, then drape the large scarf over your crown and wrap it around, twisting and tucking the ends until the halo feels secure. The scarf’s inner layer should be satin or silk where it touches your hair — if your scarf is pure wool, wear a thin satin scarf underneath to protect your edges. Each evening, unwrap gently, moisturize your hairline with a light oil, and rewrap loosely in a bonnet. Because the style is fully reworkable, you can wear it daily all winter, re-braiding the base as usual and swapping scarf colors to match your coat.
Faux Locs for the Cold Season
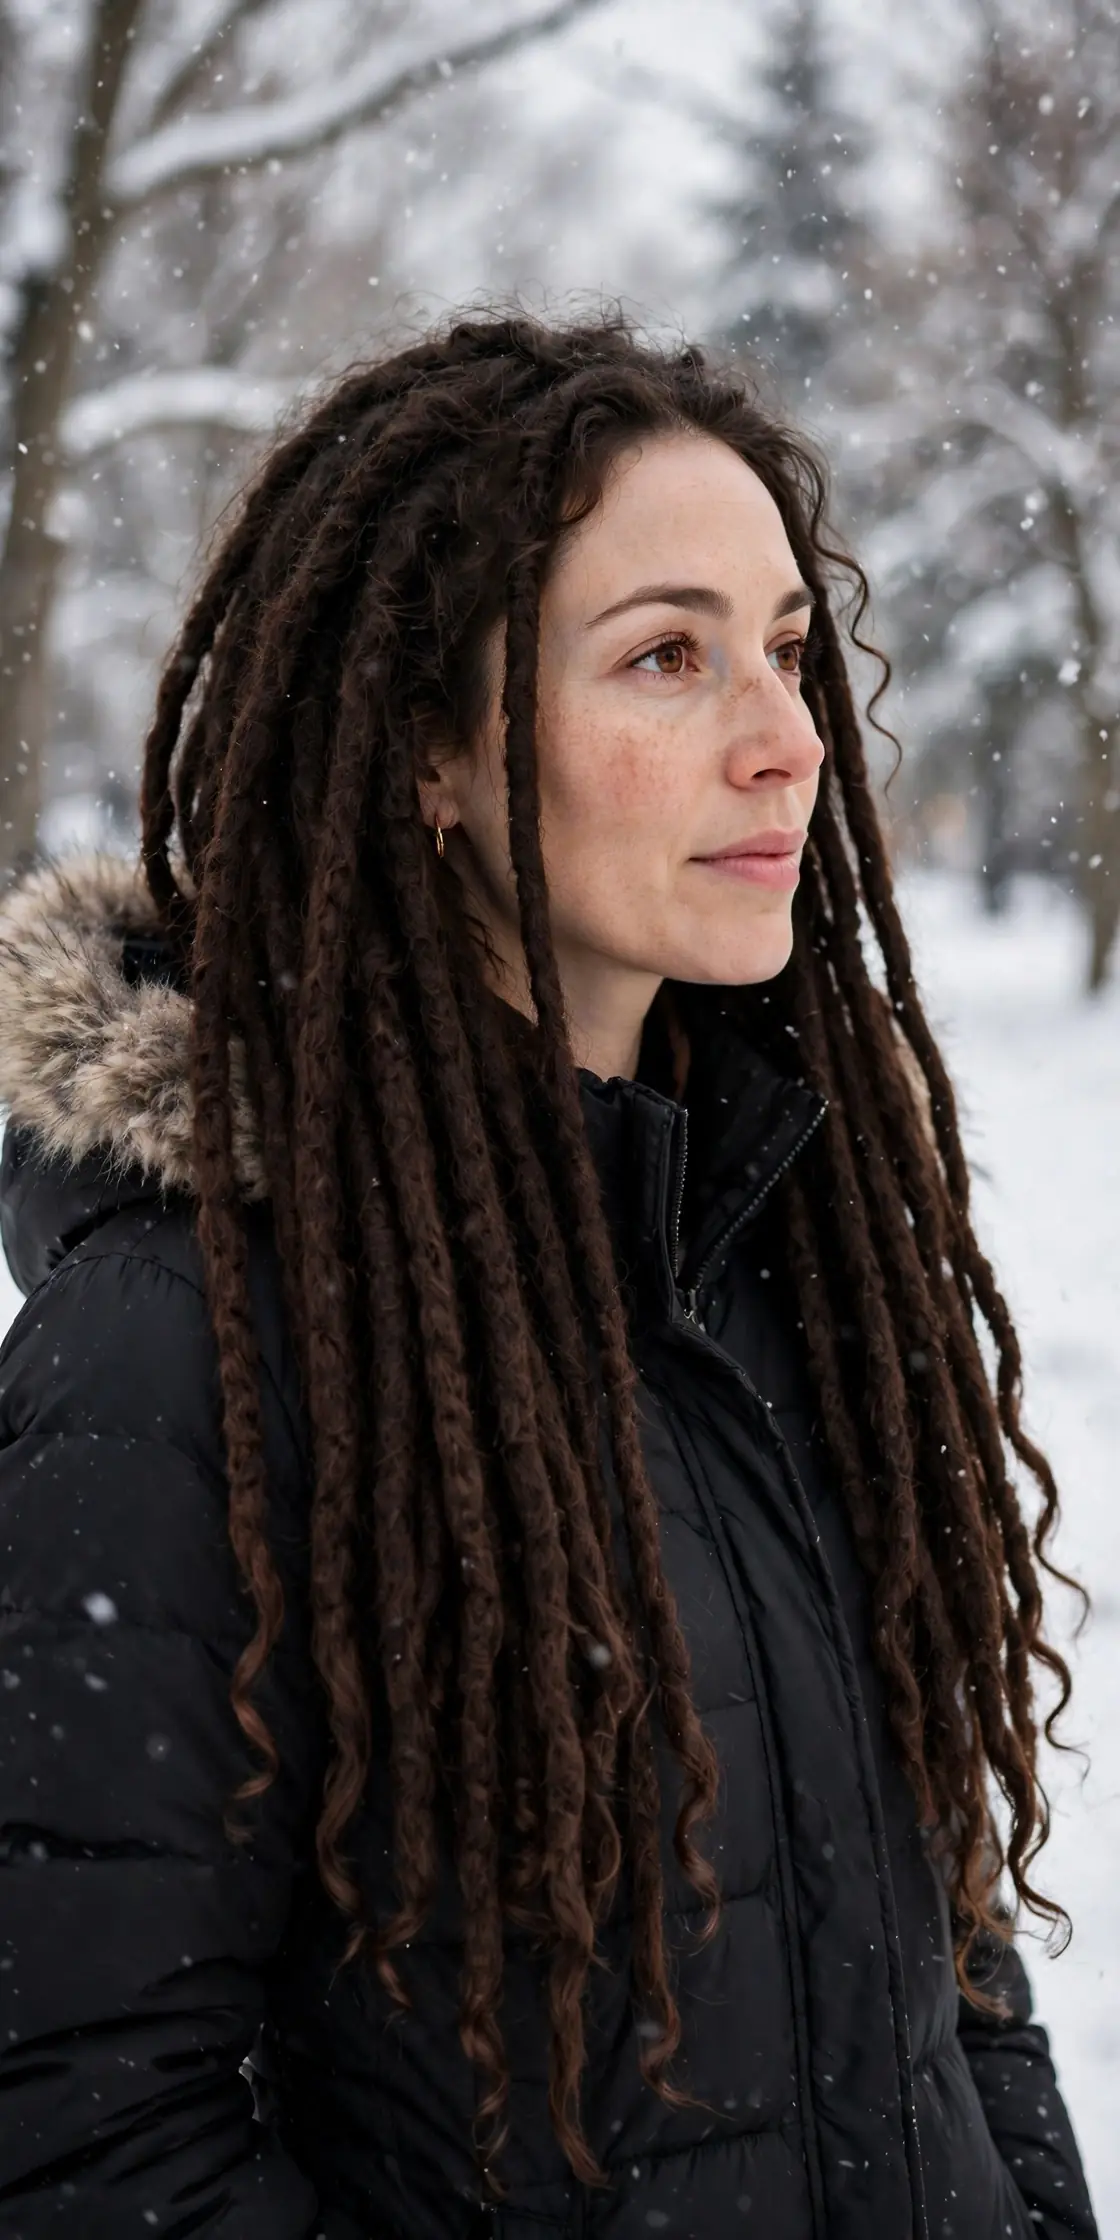
Faux locs are a winter gift to natural hair: they lock your strands away from drying winds for weeks at a time, require almost no daily styling, and look rich and dimensional under a winter coat. In cold months they’re especially smart because you can wear a beanie, hood, or scarf over them without disturbing the install, and the weight of the locs balances bulky winter layers beautifully. This style suits women who want a long-term protective set with genuine presence — faux locs frame the face dramatically and work on all face shapes when the parting is customized to you. Mid-back locs are the sweet spot for most women — dramatic enough to notice, easy to tuck into a scarf.
- Ask for crochet locs over cornrowed hair for the most natural winter look.
- Keep installs lightweight to avoid neck strain under heavy winter clothing.
- Moisturize the scalp between parts with a light oil every few days.
- Tie locs up in a loose pineapple under hats to avoid crushing the style.
At the salon, request faux locs installed over cornrowed natural hair with your real hair fully tucked inside each loc — nothing should be left out to face the wind. A good winter install lasts six to eight weeks; longer than that risks buildup and matting at the roots. Your winter care routine is beautifully simple: spritz the scalp with a rosewater or aloe-based mist, massage in a light oil at the parts, and wrap the locs in a satin scarf every night. When wearing hats, pile the locs into a loose high bun first so they don’t get flattened. Between installs, give your hair a one- to two-week rest with deep conditioning so your strands come back stronger.
Chunky Winter Twists with Moisture Sealing
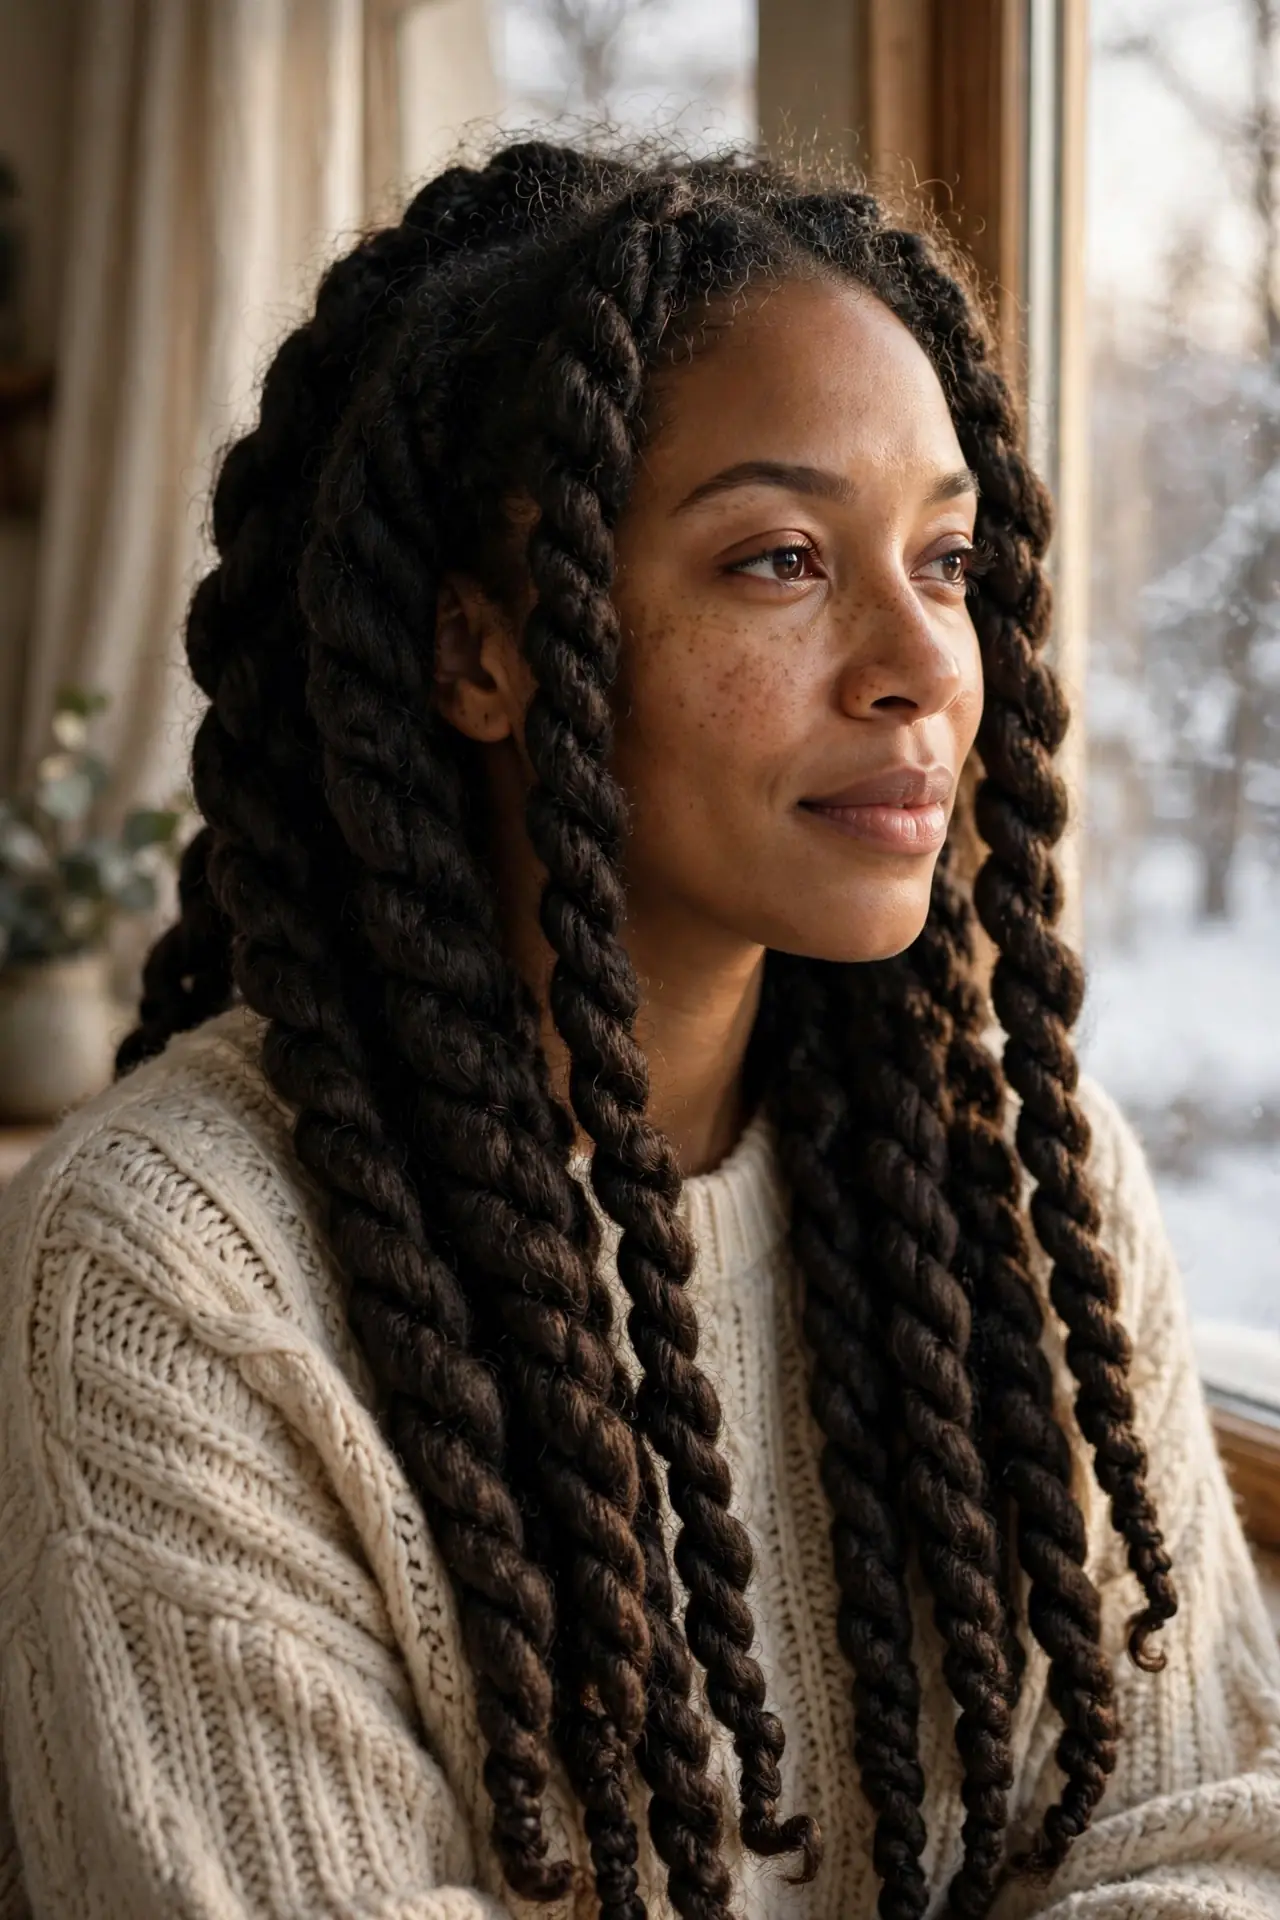
Two-strand twists are a classic protective style, but the chunky winter version is built for the season: larger sections mean less manipulation, faster installation, and a style that stands up to hats and hoods without unraveling into frizz. The real winter magic is the moisture-sealing routine layered into the install — each twist is set on damp, deeply conditioned hair with leave-in and oil sealed into every section, so your strands stay hydrated for weeks even as the air turns brutally dry. Chunky twists flatter round and oval faces especially well, adding height and structure, and they look stunning on medium to long natural hair. Wear them down for a full, regal silhouette or pin them into a side-swept updo for formal winter occasions.
- Twist on damp hair to lock in maximum moisture from wash day.
- Use larger sections than usual for a chunky, low-manipulation set.
- Seal each section with oil before twisting to trap hydration inside.
- Refresh twists with a light mist rather than full re-wetting.
Ask your stylist for medium-to-large two-strand twists, or install them yourself over a weekend — chunky sections make this a genuinely doable DIY project that goes faster than you expect. Deep condition first, then smooth butter or oil through each section as you twist — this layering keeps winter dryness out. At night, gather the twists into a loose pineapple under a satin bonnet, and every few days mist them lightly with water mixed with leave-in, focusing on the ends. Chunky twists typically last three to five weeks, and they age beautifully — as they loosen, they turn into a gorgeous twist-out with extra volume.
Box Braids with a Winter Night Routine
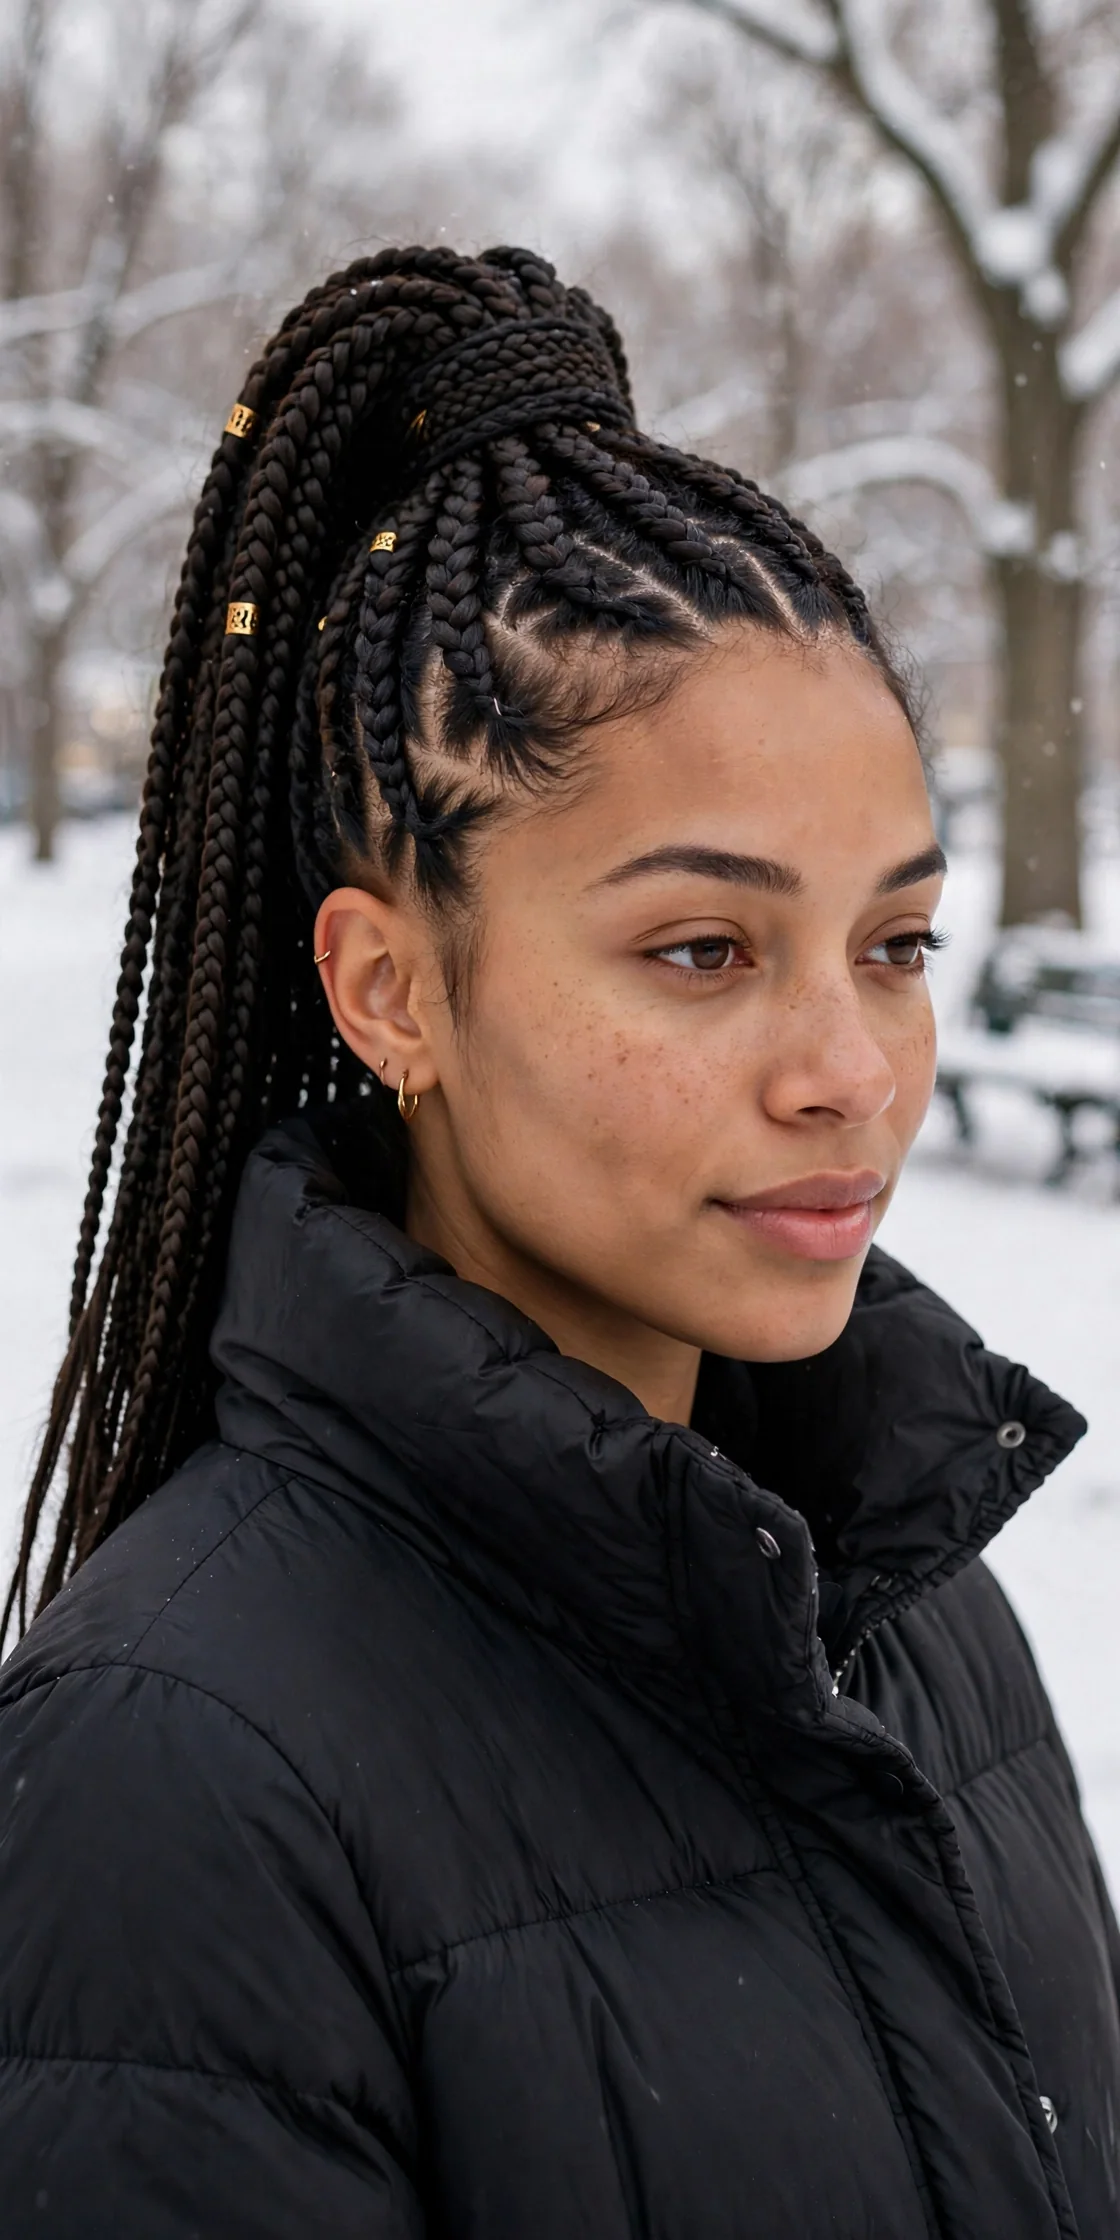
Box braids are the ultimate set-and-forget winter style, and their cold-season superpower is that they survive everything winter throws at them: hats, hoods, scarves, wind, and dry office heating. While the braids protect your lengths all day, a dedicated winter night routine protects your scalp and roots all season — because braids don’t moisturize themselves, and winter dryness attacks the parts and hairline first. This style works for nearly everyone: it suits all face shapes and all lifestyles, and the braiding hair adds whatever length you want. Knotless braids are the winter comfort pick — flatter and gentler under daily hats.
- Opt for knotless braids to reduce scalp tension under winter hats.
- Sleep in a satin bonnet every single night without exception.
- Cleanse the scalp with a diluted shampoo or scalp scrub every one to two weeks.
- Moisturize the parts with a lightweight oil to prevent winter flaking.
At your appointment, ask for knotless box braids in a medium size — small braids take too long and jumbo braids stress the hairline; medium is the sweet spot. Deep-condition before the install and ask for gentle edges to protect your hairline. Your winter night routine is the heart of this style: mist the scalp with a hydrating spray, massage in a light oil at the parts, and secure everything under a satin bonnet before bed. With proper care, box braids last six to eight weeks, giving you two full months of winter protection with minimal daily effort.
Hat-Friendly Cornrow Updos
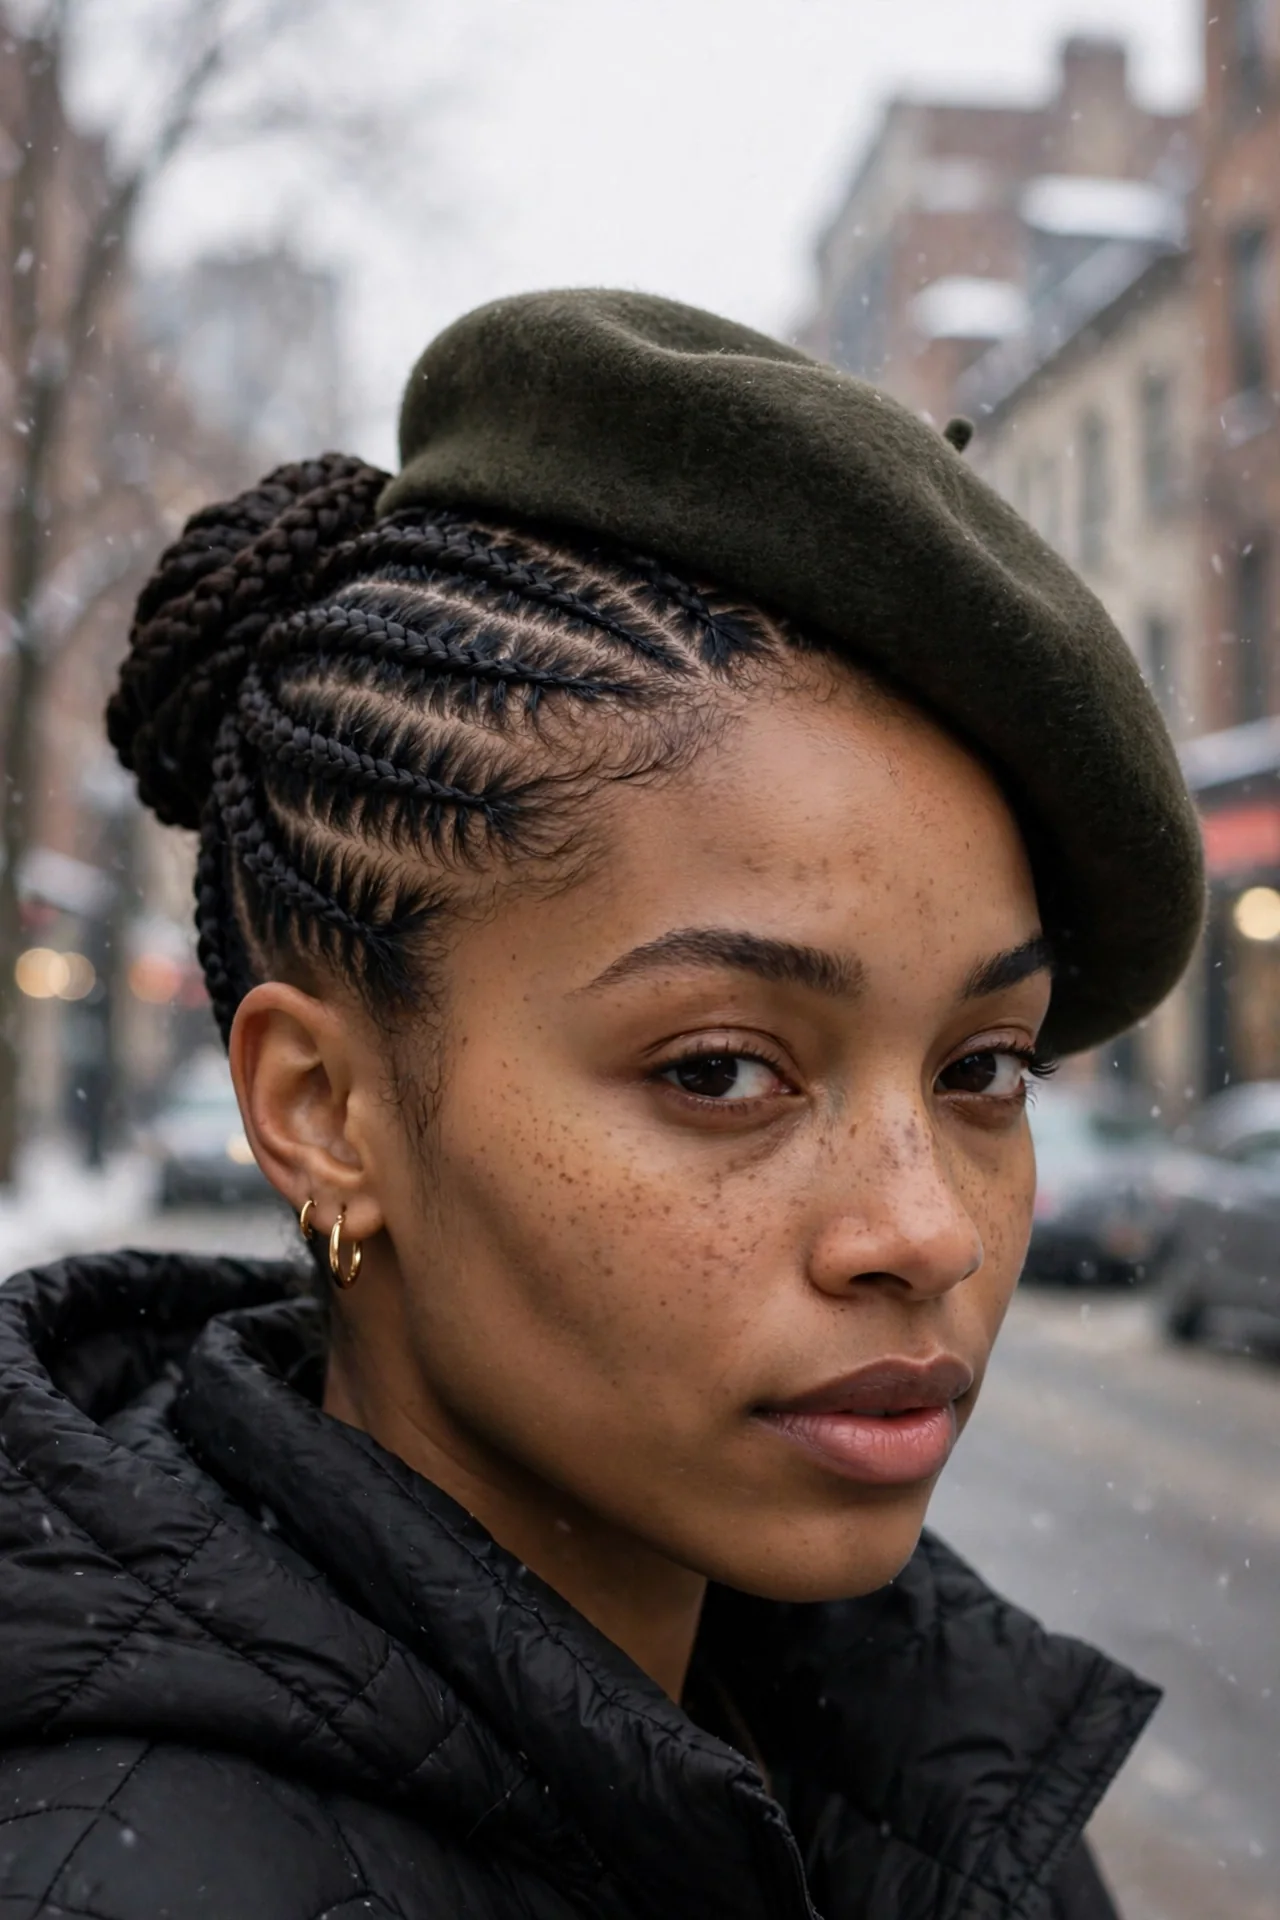
Cornrows are a winter workhorse because they lie completely flat — no other protective style disappears under a hat quite so seamlessly. The hat-friendly updo version takes classic cornrows and sweeps them into an elegant coiled or pinned crown, so when the hat comes off you reveal a finished style instead of flattened hair. This look is perfect for women who live in beanies and berets all winter: the cornrows protect every inch of your hair from friction, wind, and dry air, while the updo detail keeps you looking polished at work or events. It suits all face shapes and works on short to medium natural hair, since braiding hair can be added for fullness.
- Ask for feed-in cornrows for a natural, flat hairline.
- Keep the updo pinned low and flat so hats slide on easily.
- Moisturize along each cornrow part every few days.
- Wrap in a satin scarf at night to keep the style crisp.
Ask your braider for feed-in cornrows braided toward the crown and pinned into a low, flat coil — emphasize that it needs to sit flush for hat wear. The style takes one to three hours depending on size and typically lasts two to four weeks with good care. Each night, smooth a light oil along the parts and wrap everything in a satin scarf; in the morning the updo will still look fresh. Use edge control sparingly so buildup doesn’t shorten the style’s life. This is one of the most practical winter styles you can wear — full protection, zero daily styling, and a graceful reveal every time the hat comes off.
Satin-Lined Hood Styles for Frosty Days
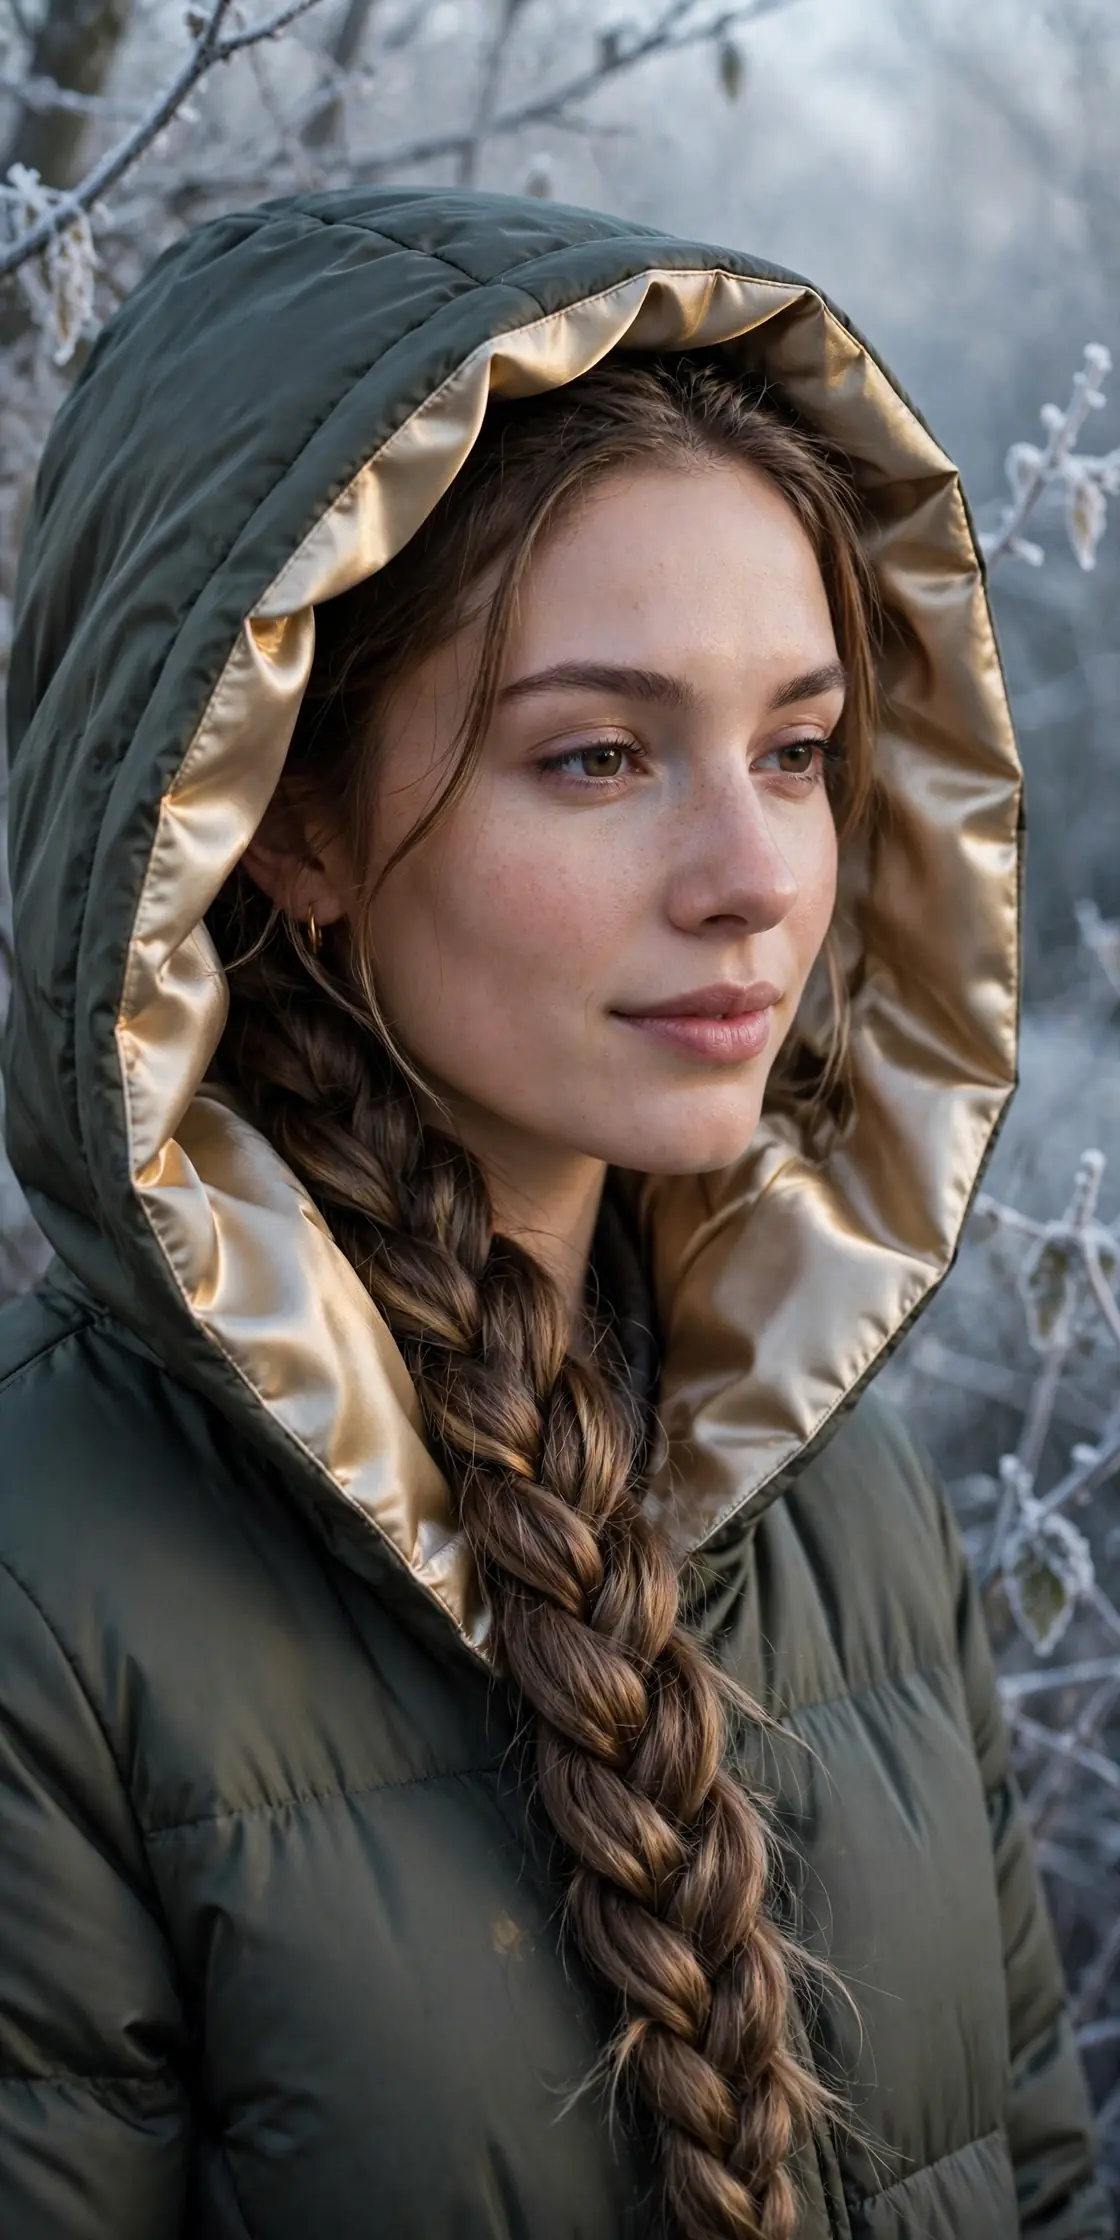
Hoods are unavoidable in winter, but a raw coat hood rubbing against your hair is a recipe for breakage and frizz at the nape and crown. The satin-lined hood style flips the script: you wear your protective style — twists, braids, or a sleek low bun — under a hood whose interior you’ve lined or layered with satin, so the friction zone becomes a glide zone. This approach suits every protective style you already love, because the lining does the protecting regardless of what’s underneath. It’s ideal when the hood stays up for an hour at a time — long commutes, school runs, dog walks. The result is hair that looks untouched at the end of a blustery day.
- Line coat hoods with a satin scarf or a satin bonnet underneath.
- Keep hair in twists, braids, or a low bun before the hood goes up.
- Choose hoods with a smooth interior finish when buying winter coats.
- Shake hair loose and fluff roots once indoors for instant volume.
Sew or pin a satin lining into your most-worn coat hood, or simply wear a satin bonnet under the hood — both work, and the bonnet doubles as your nighttime protector. Underneath, keep your hair in any low-manipulation style; long braids can be tucked into the coat collar for extra warmth and protection. Each evening, take the hood down and give your scalp a quick massage to restore circulation. Refresh your style’s moisture every few days with a light mist, since hoods trap warmth that can dry out the crown. This simple habit change costs almost nothing and saves your hair from months of cumulative friction damage — one of the highest-return winter hair moves you can make.
Winter Pineapple Protective Puffs
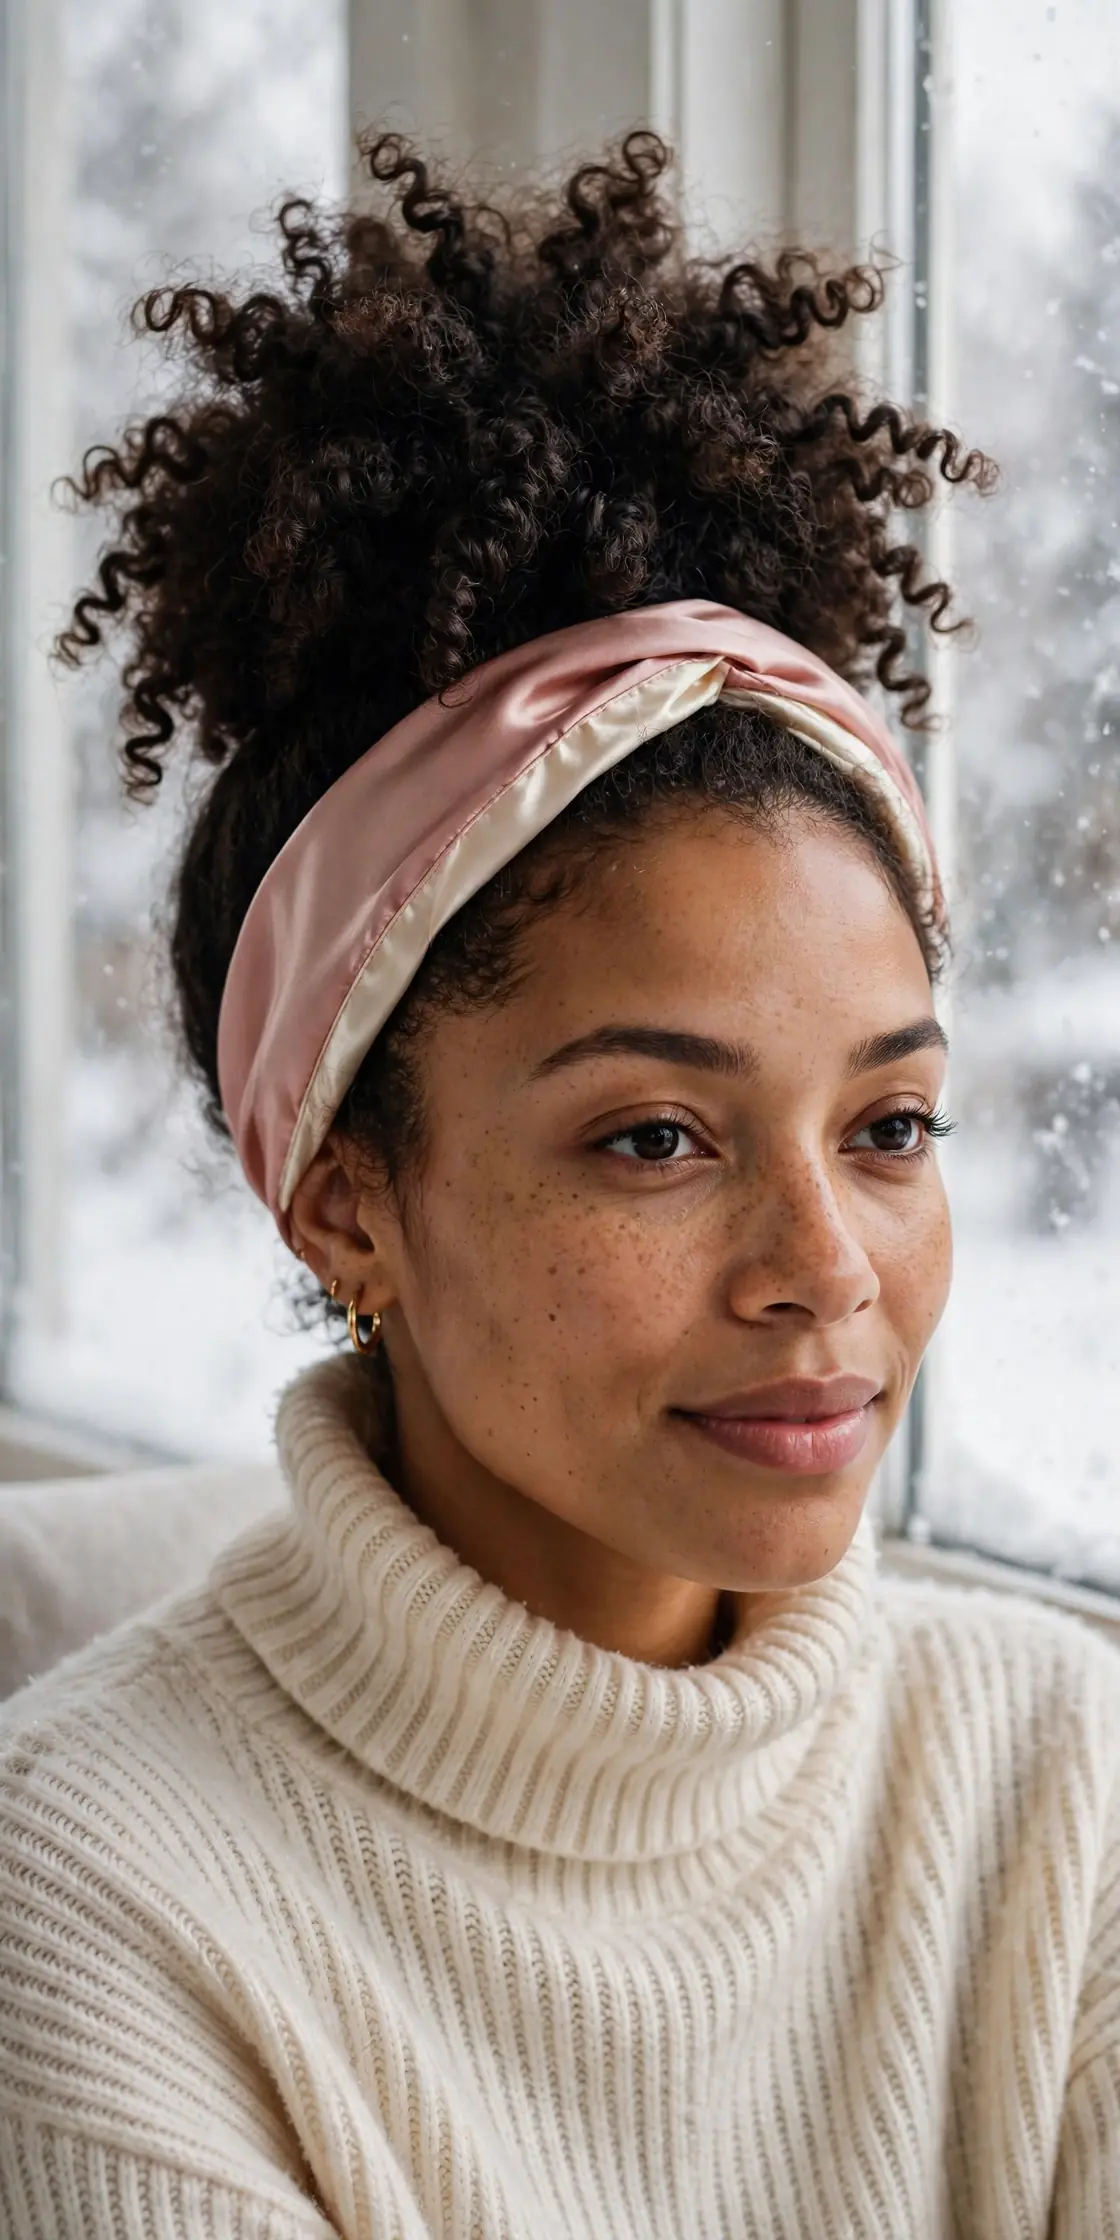
The pineapple puff is a beloved wash-and-go preserver, and the winter version upgrades it into a true protective style by pairing the high puff with serious moisture sealing and edge protection. Instead of a quick daytime puff, this is a deliberate cold-weather set: hair is stretched, moisturized, and sealed, then gathered into a full, defined puff that keeps your ends tucked, your nape protected, and your length off your coat collar. It suits medium to long natural hair and flatters round, oval, and heart-shaped faces beautifully, with the height of the puff balancing winter’s bulky layers.
- Stretch hair with banding or a blowout before forming the puff.
- Seal ends with a heavy butter before gathering to lock out dry air.
- Use a satin scrunchie, never a tight elastic, at the puff base.
- Protect edges with a light oil and a satin-lined headband.
Start on washed, deep-conditioned hair: apply leave-in, seal with butter or oil, and stretch overnight with banding or a quick low-heat blow-dry. Gather the hair high with a satin scrunchie, fluff the puff gently, and smooth the edges with a soft brush and a touch of gel. For outdoor wear, slide a wide satin-lined headband over the base to protect your hairline from wind. At night, re-pineapple loosely in a satin bonnet and refresh the puff in the morning with a light mist. This style holds for one to two weeks with nightly care, keeping your curls defined and your ends safe all season.
Flexi Rod Curl Sets for Winter Weekends

Flexi rod sets give you bouncy, defined curls with zero heat — exactly what winter hair needs, since hot tools plus dry air is a breakage double-hit. The winter weekend version is set on deeply moisturized hair and sealed with oil, so the curls stay soft and hydrated for days instead of crisping out by Monday. This style suits all face shapes and works beautifully on medium to long natural hair; the curl pattern can be customized from tight ringlets to loose waves by choosing rod size. It’s the perfect Friday-night set: rods in, bonnet on, and Saturday-morning curls for parties and cozy weekends.
- Set rods on damp, moisturized hair for the smoothest curls.
- Use a light foam or setting lotion instead of heavy gels.
- Seal each section with oil before rolling to lock in moisture.
- Sleep in a satin bonnet and pineapple the curls on later nights.
After washing and deep conditioning, apply leave-in conditioner and a light foam to damp sections, smooth a little oil through each one, then wrap the hair around flexi rods from ends to roots. Let the set dry fully — overnight is ideal — then unravel the rods gently and separate the curls with oiled fingers for volume. The curls typically last five to seven days: pineapple them nightly in a satin bonnet and refresh with a light mist as needed. Avoid re-wetting fully between sets; a targeted mist on frizzy sections is enough. This heat-free routine keeps your hair’s moisture balance intact through the driest months. For more curl inspiration that pairs with seasonal styling, explore these long curly haircuts with layers for women.
Halo Braids Under Winter Scarves

A halo braid — one continuous braid circling the crown — is winter elegance at its most practical, and sliding a scarf over it creates a layered look straight out of a holiday film. The braid keeps every strand tucked and protected from wind and friction, while the scarf adds warmth and a soft frame around the face. This style suits all face shapes and works on medium to long hair, with braiding hair added for fullness if needed; the circular shape is universally flattering because it draws the eye up and around. It’s a beautiful choice for winter weddings and holiday dinners — intricate-looking but under an hour once you know the technique.
- Braid the halo snugly but comfortably to survive scarf friction.
- Tuck the braid tail under and pin it invisibly for a seamless circle.
- Drape scarves loosely over the halo rather than wrapping tightly.
- Mist the braid with leave-in before scarfing up on dry days.
Part the hair in a circle around the crown and Dutch-braid around the head, adding hair as you go, then tuck and pin the tail under the starting point. Smooth the hairline with a light gel and lay a satin scarf edge along the hairline before adding your wool scarf on top — this double layer protects your edges from the rougher fabric. In the evening, remove the scarves, lightly mist the braid, and wrap it in a satin bonnet. The halo lasts three to five days; refresh by re-braiding just the front section. It’s one of the most photogenic winter protective styles you can wear, keeping your hair completely safe while looking effortlessly festive.
Winter Protective Hairstyles for Women: Wig Installs with Scalp Care
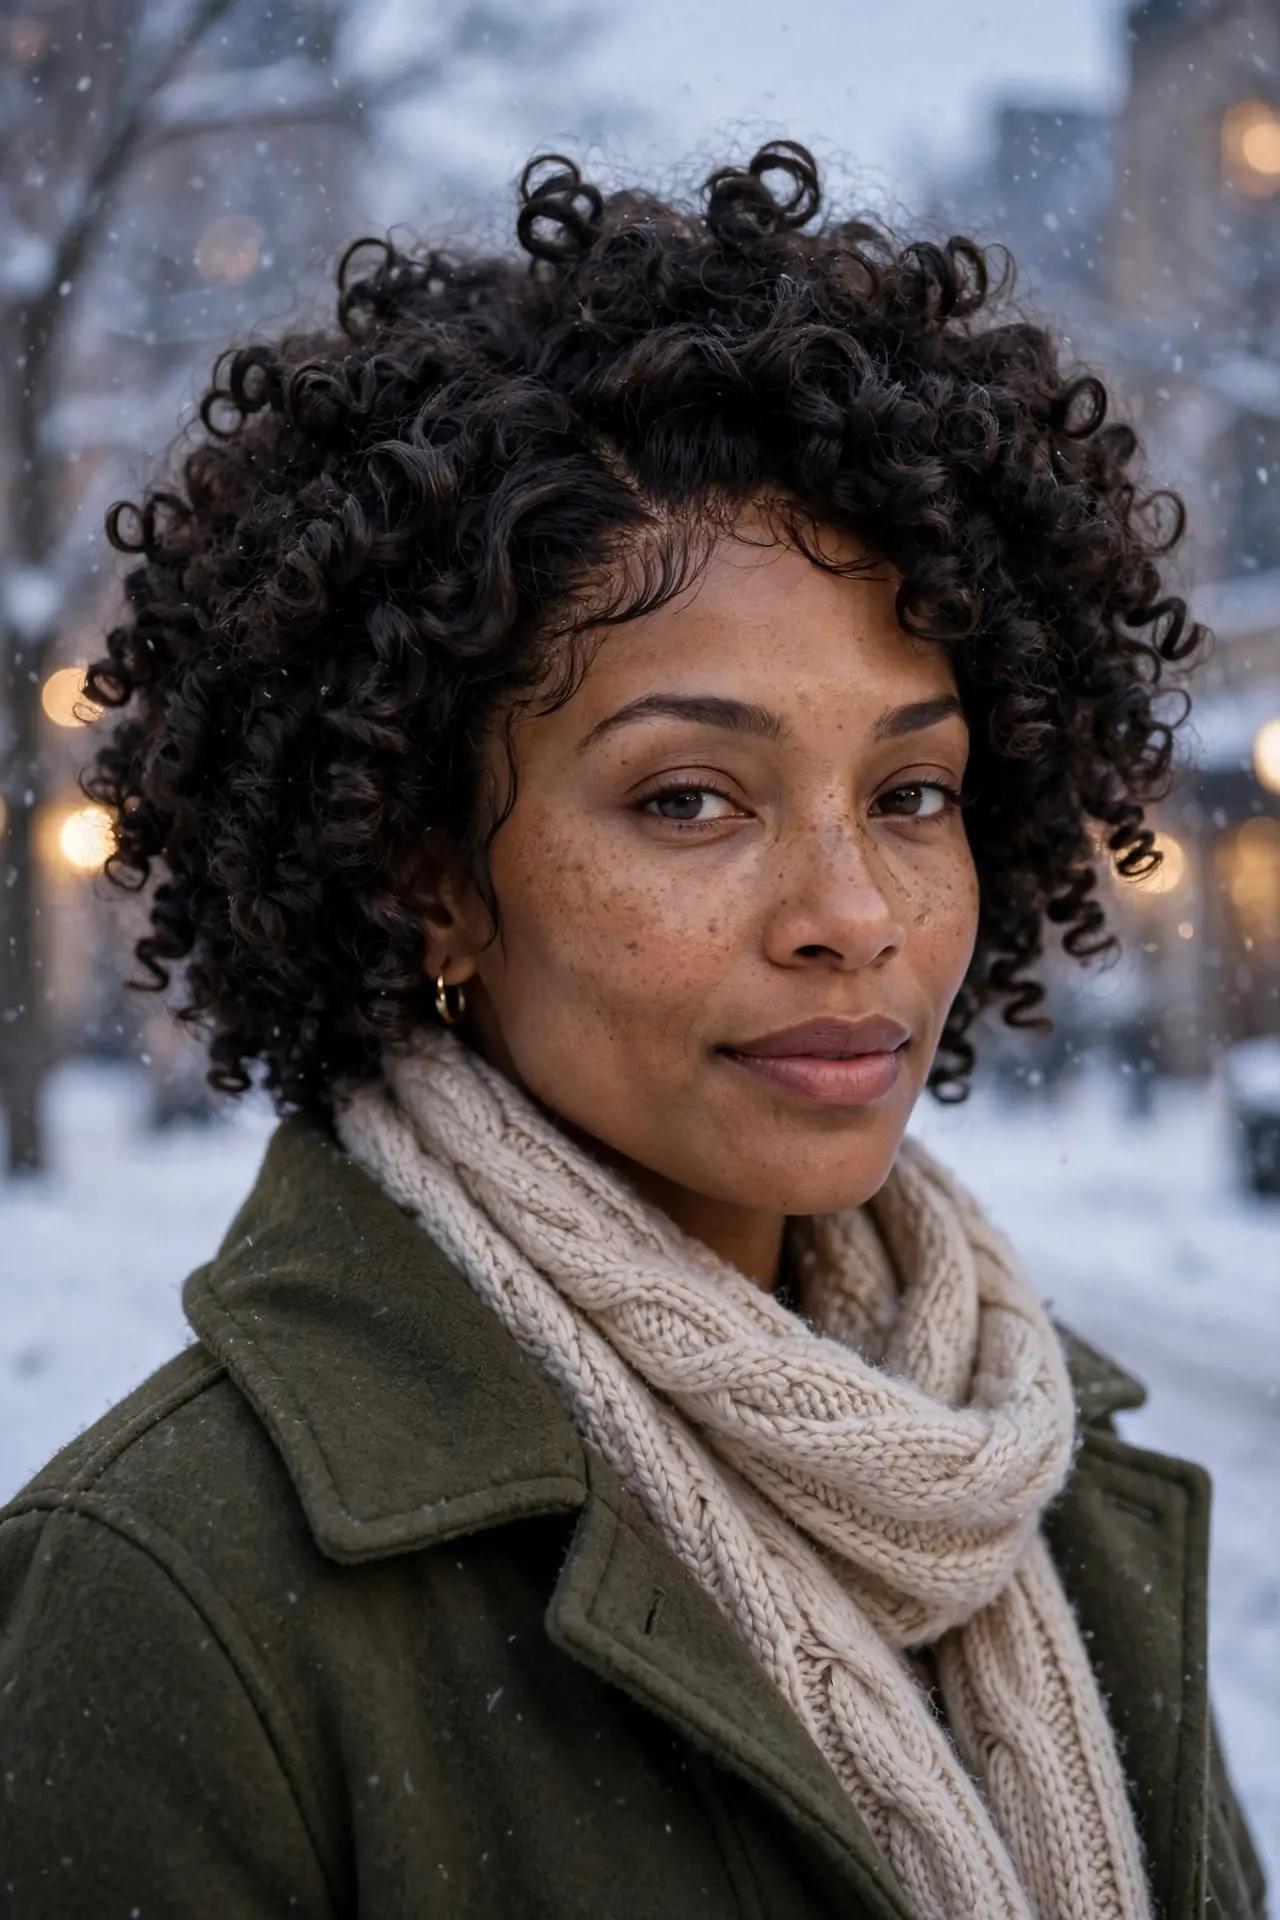
A well-installed wig is winter’s ultimate low-manipulation style: your natural hair stays braided flat underneath, fully shielded from wind, dry air, and hat friction, while you get to switch up your look for every holiday event. The winter difference is the scalp-care discipline underneath — cold air and indoor heating dry out a braided-down scalp fast, so this style only works its magic when paired with a consistent moisturizing routine at the parts every few days. Choose the unit’s length, texture, and color to flatter you; kinky-curly or yaki textures blend most naturally with natural hair.
- Braid natural hair flat and moisturized before every install.
- Choose a glueless or lightly secured unit for easy removal and scalp access.
- Moisturize the scalp between cornrow parts every two to three days.
- Remove the unit nightly when possible to let the scalp breathe.
Have your hair cornrowed flat with leave-in and oil worked into each braid, then install a glueless wig or one secured with minimal adhesive so you can lift it for scalp care. Every two to three days, lift the unit and massage a light oil into the parts, misting with a hydrating spray first if the scalp feels dry. At night, remove the wig when you can and wrap your cornrows in a satin bonnet. Wash and re-braid your natural hair every two to three weeks even while wearing wigs, so buildup never gets a foothold. With this routine, a winter of wig-wearing becomes a genuine growth season.
Conclusion
Winter doesn’t have to mean a season of breakage and setbacks — with the right **winter protective hairstyles for women**, the cold months can become your hair’s quiet growth season instead. Whether you choose the cozy simplicity of a silk-lined beanie with braids, the regal sweep of a halo braid under a scarf, or the long-term ease of faux locs and box braids, every style on this list keeps your ends tucked, your moisture sealed, and your daily manipulation low. Pick one that fits your lifestyle, commit to the night routine, and let the season work for you. And when spring arrives and you’re ready to show off the length you’ve protected, these headband hairstyles for short hair offer fresh inspiration for styling your healthy, thriving hair in the new season.