12 Protective Hairstyles for Natural Hair
Introduction
If you are natural and chasing length, you already know the secret is not how fast your hair grows — it is how much of that growth you get to keep. Protective hairstyles for natural hair tuck your ends away, cut daily manipulation, and give your strands a break from brushing, heat, and weather. Whether you rock 3C curls or tight 4C coils, the right protective style keeps moisture in and breakage low between washes. A good foundation helps too — long curly haircuts with layers for women remove split ends so twists and updos last longer. These 12 ideas cover twists, updos, installs, and night routines that protect your hair all year round.
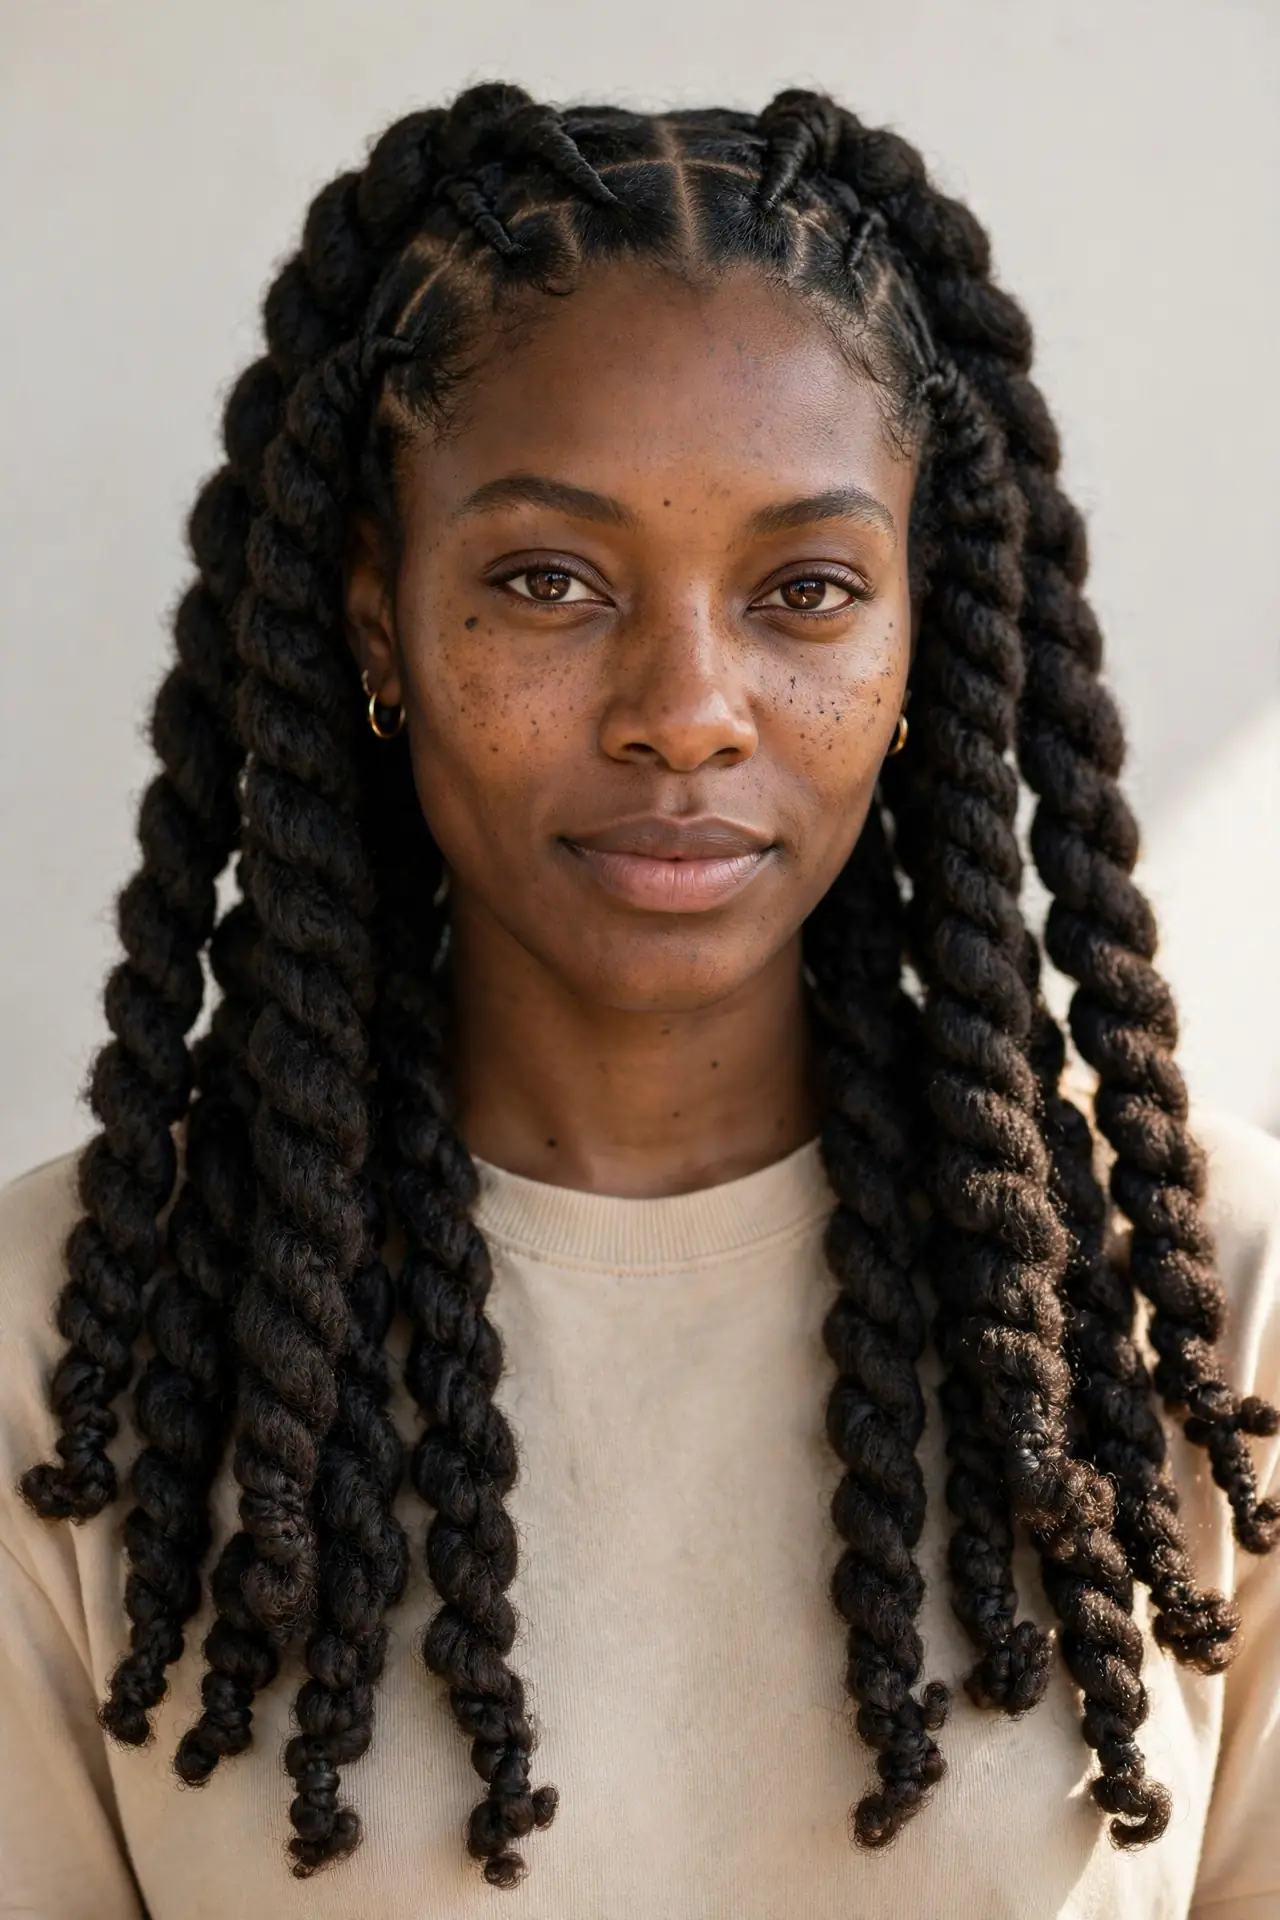
Chunky Two-Strand Twists That Protect Natural Hair
Few styles earn their protective reputation like chunky two-strand twists: quick to install, gentle on strands, and polished for weeks. They suit 4A to 4C hair beautifully because larger sections mean less root tension and fewer pieces to tangle. Medium-to-high density hair gives them gorgeous fullness, and they forgive inconsistent curl patterns. Once installed, ends stay coiled and tucked, shielded from friction, dry air, and the constant combing that causes breakage. They flatter oval, round, and heart-shaped faces — go jumbo for a bold statement or medium chunks for a softer everyday look.
- Apply a leave-in conditioner to damp hair before twisting to lock in moisture.
- Seal each section with a light oil or butter to prevent dry ends.
- Twist in the same direction from root to tip for a uniform finish.
- Refresh the scalp with a light mist of water and leave-in between washes.
Start on freshly washed, detangled, stretched hair — blow-drying on low heat or banding overnight makes sectioning cleaner and reduces frizz. Ask your stylist for chunky twists with minimal root tension, keeping edges loose, never pulled tight. At home: sleep in a satin bonnet nightly, spritz a dry scalp, and re-twist only fuzzy front pieces to stretch the style. Wear time runs two to four weeks. At takedown, unravel gently with oiled fingers, detangle in sections, and follow with a deep-conditioning treatment before your next style.
High Puff with Tucked Ends
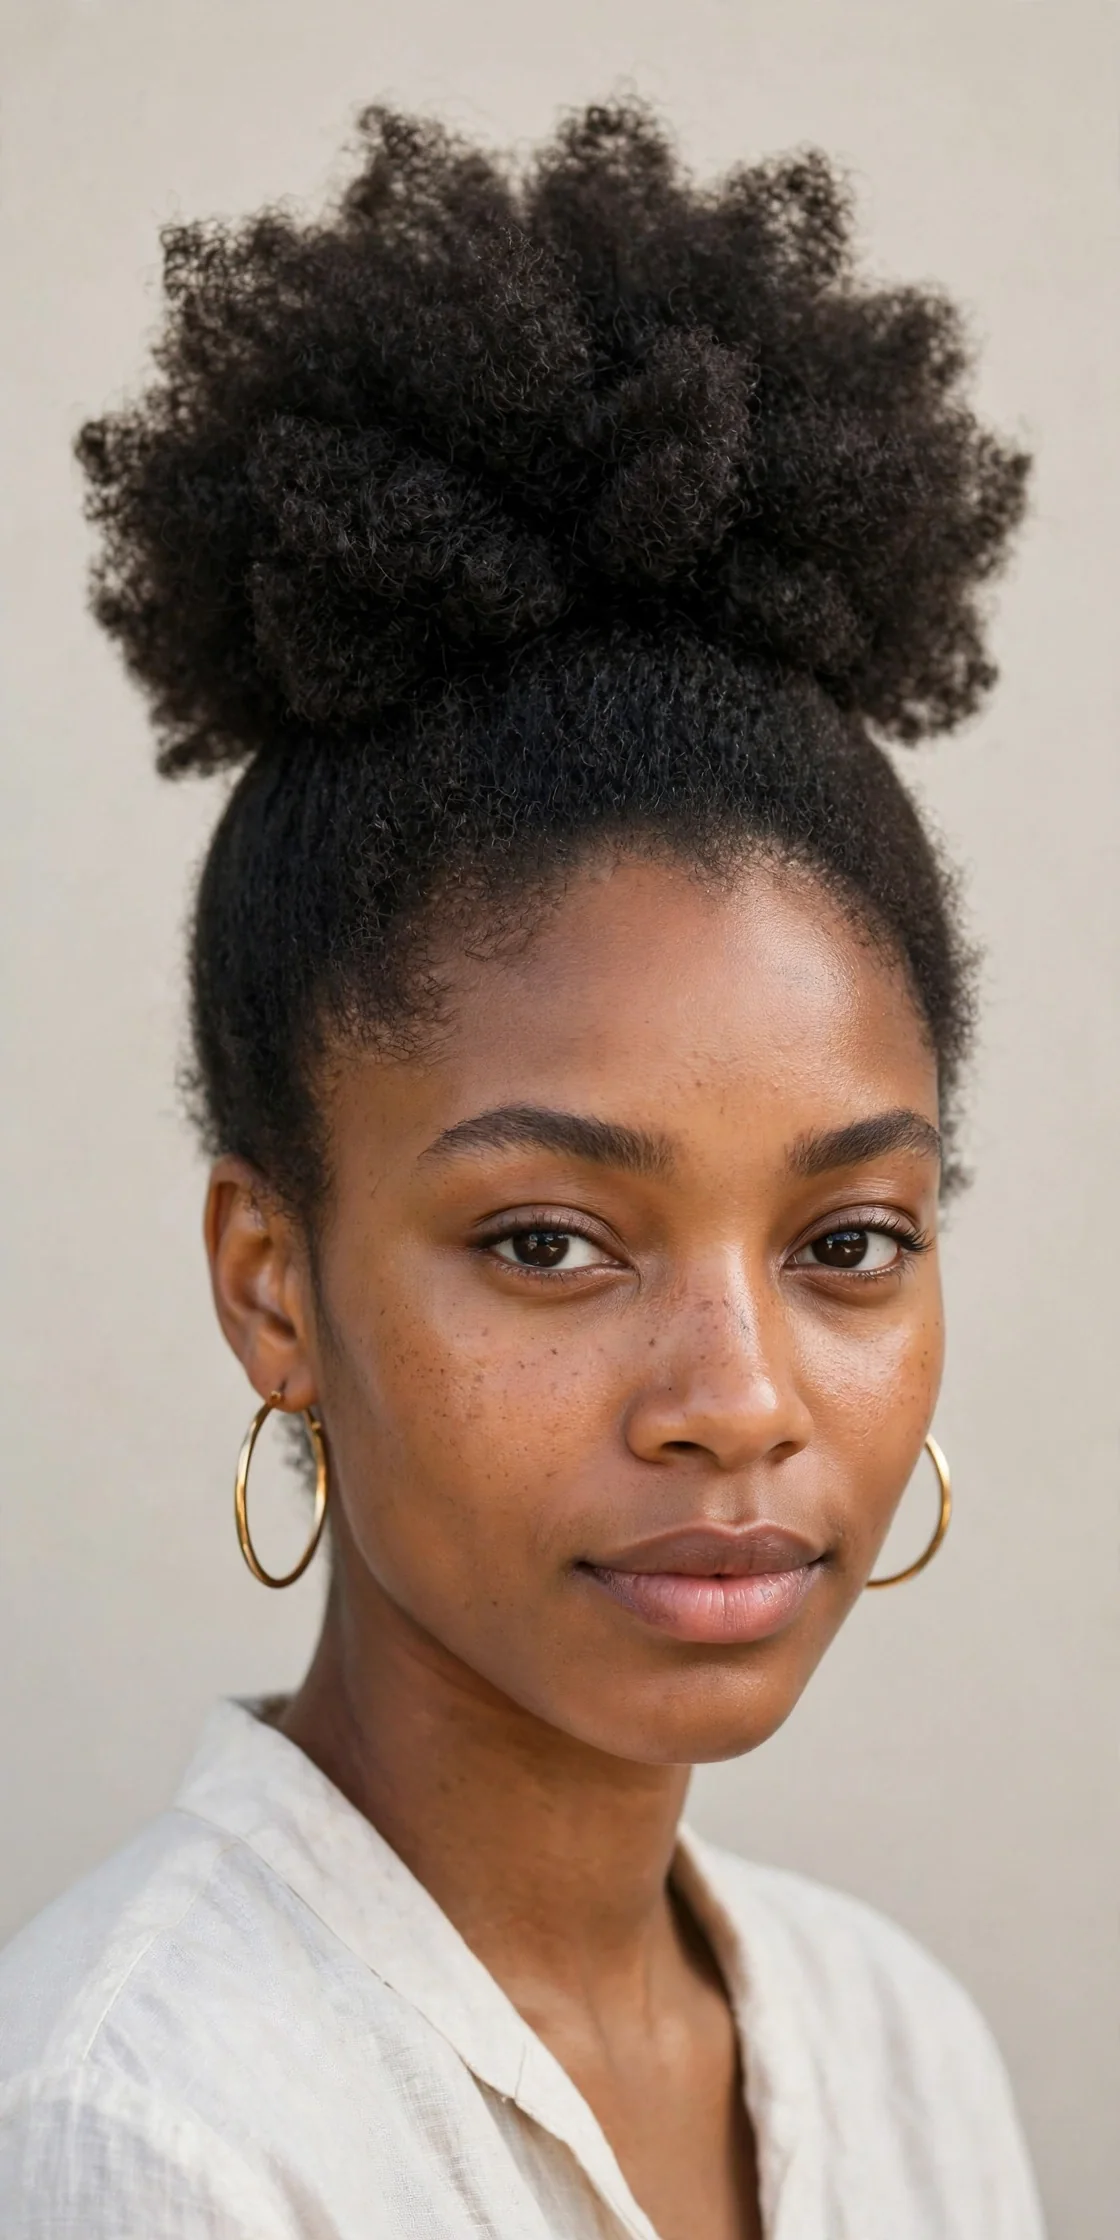
The high puff is the natural-hair staple that never gets old — five minutes to install, full texture on display, and genuinely protective when ends are tucked. Instead of leaving the puff’s tips exposed, fold and pin them so the oldest, most fragile part of your hair stays hidden. It suits 3B through 4C textures, from a TWA to shoulder-length hair. High-density hair creates a gloriously full puff; finer textures can tease the roots slightly for volume. It frames the face beautifully and pairs effortlessly with hoops, headwraps, or a bold lip.
- Stretch hair with a blow-dryer on low heat or overnight banding first.
- Smooth the base with moisturizing edge control, not a harsh gel.
- Gather hair with a satin scrunchie instead of a tight elastic.
- Tuck and pin exposed ends so they stay protected all day.
Build it on moisturized hair — leave-in plus cream gives softness without crunch. Gather toward the crown with moderate tension so edges are never strained; use two satin scrunchies for thick hair. Fluff the puff, tuck ends under, and secure with matching bobby pins. The style lasts one to three days: at night, re-gather loosely under a satin bonnet. In the morning, mist lightly with water, smooth the base, and fluff again. If ends feel dry by day two, smooth a tiny amount of oil over the puff to keep them supple until wash day.
Flat-Twist Halo Updo for Protective Styling
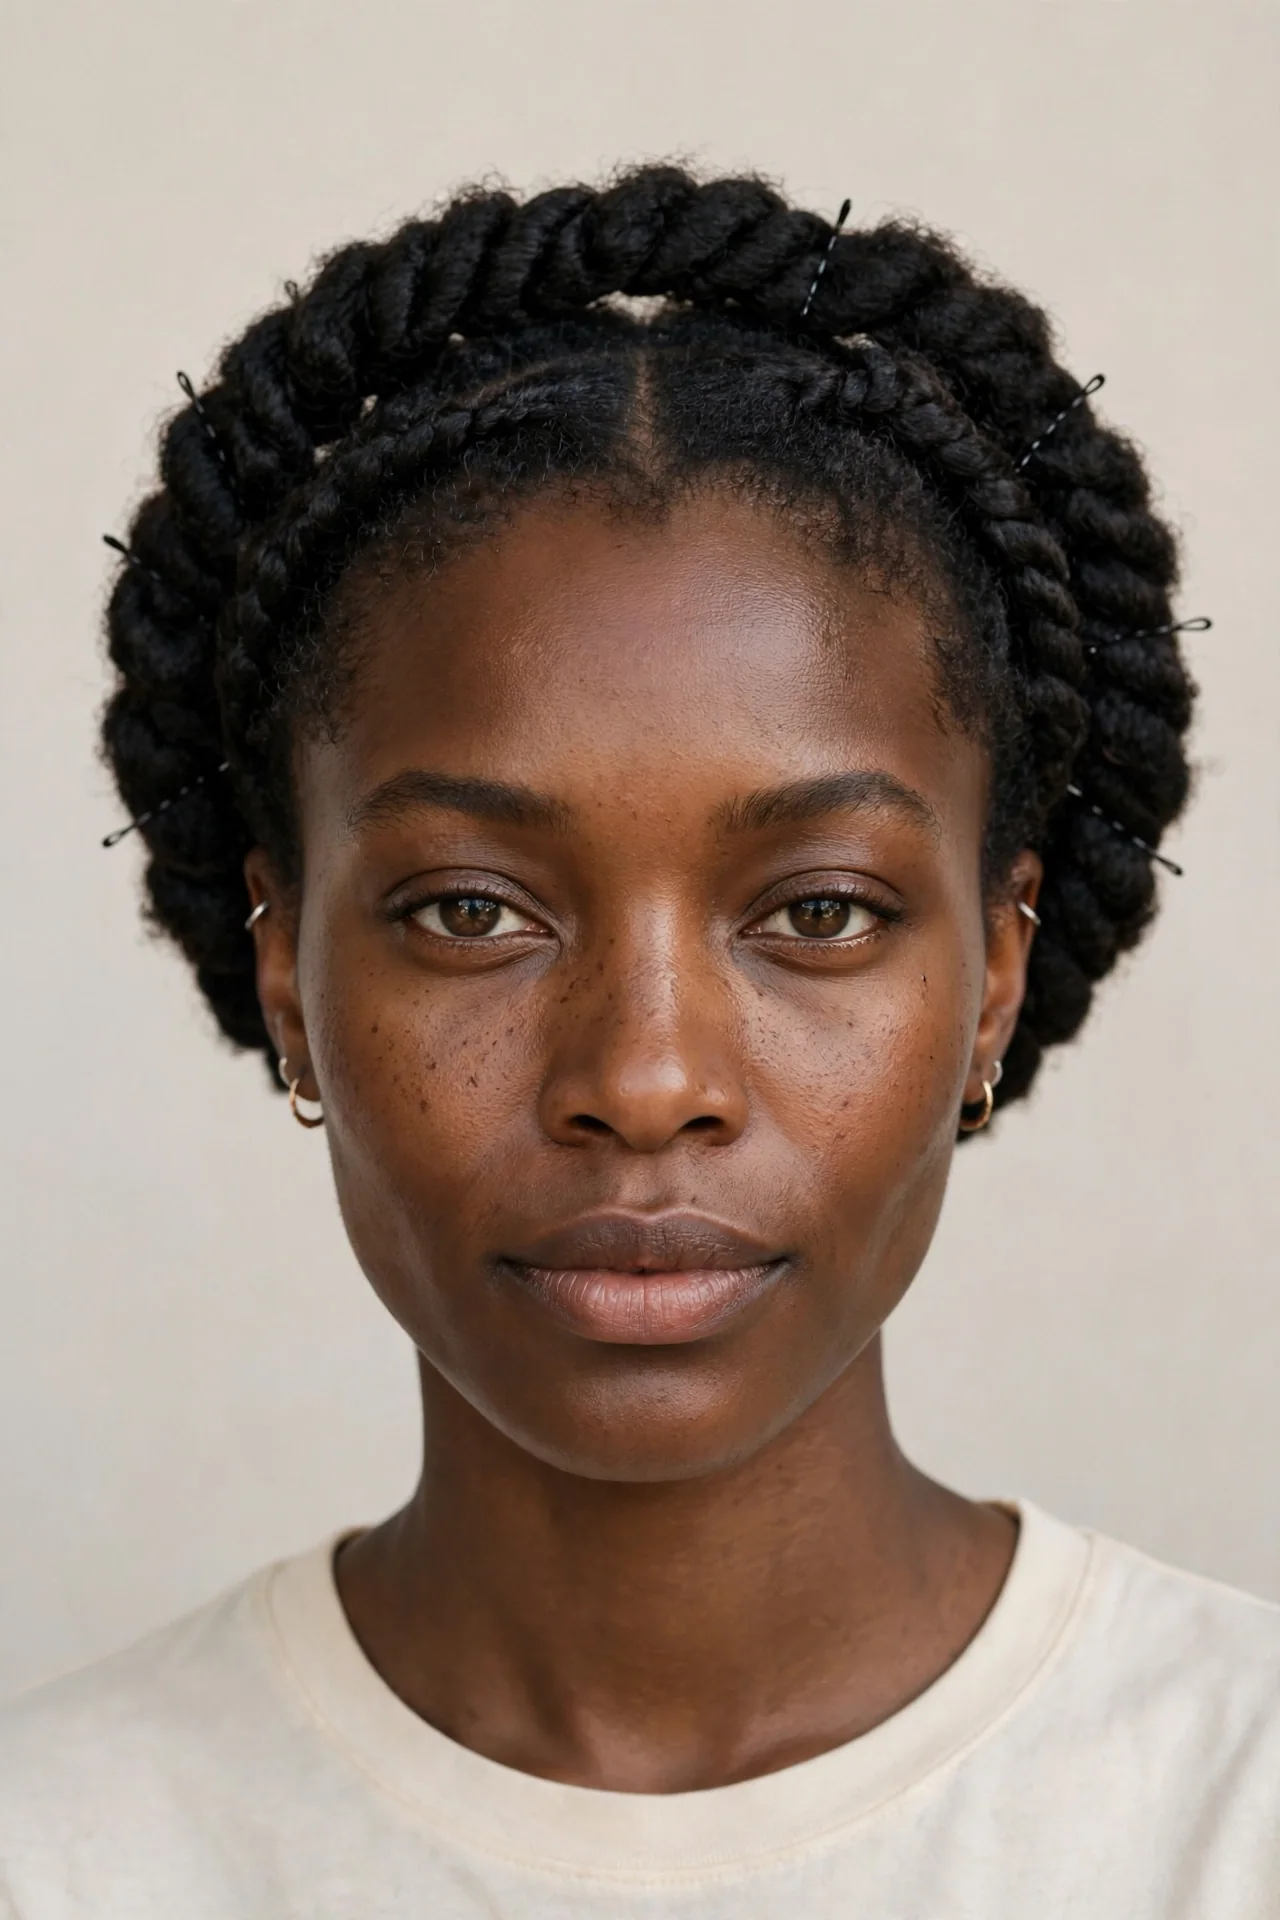
The flat-twist halo — two flat twists wrapped around the head like a crown — is one of the most elegant ways to protect natural hair while looking event-ready. Every strand stays lifted and tucked, with no hanging ends for weather, scarves, or chair backs to snag. It suits 4A to 4C textures especially well, since tighter coils hold flat twists with minimal product, though 3C curls can wear it with extra hold. Medium-to-long hair creates the fullest halo; shorter lengths can achieve it with tucked, pinned ends. It elongates the neck and showcases earrings beautifully.
- Part hair cleanly down the middle or side for a symmetrical halo.
- Apply twisting cream to each section for grip and frizz control.
- Keep root tension even and gentle — never pull edges tight.
- Pin the ends securely under the opposite twist to hide them.
Start on damp, detangled hair in two sections. Flat-twist each side toward the back, adding hair as you go like a French braid, feeding the twist around into a full crown. At the meeting point, tuck each tail under the opposite twist and pin firmly. Sleep in a satin scarf tied around the hairline to keep twists smooth — the style lasts one to two weeks. Refresh the scalp with a witch-hazel-soaked cotton pad, and re-twist only the edges if they fuzz. At takedown, unravel with oiled fingers for a bonus twist-out.
Bantu Knot-Outs with Defined Curls
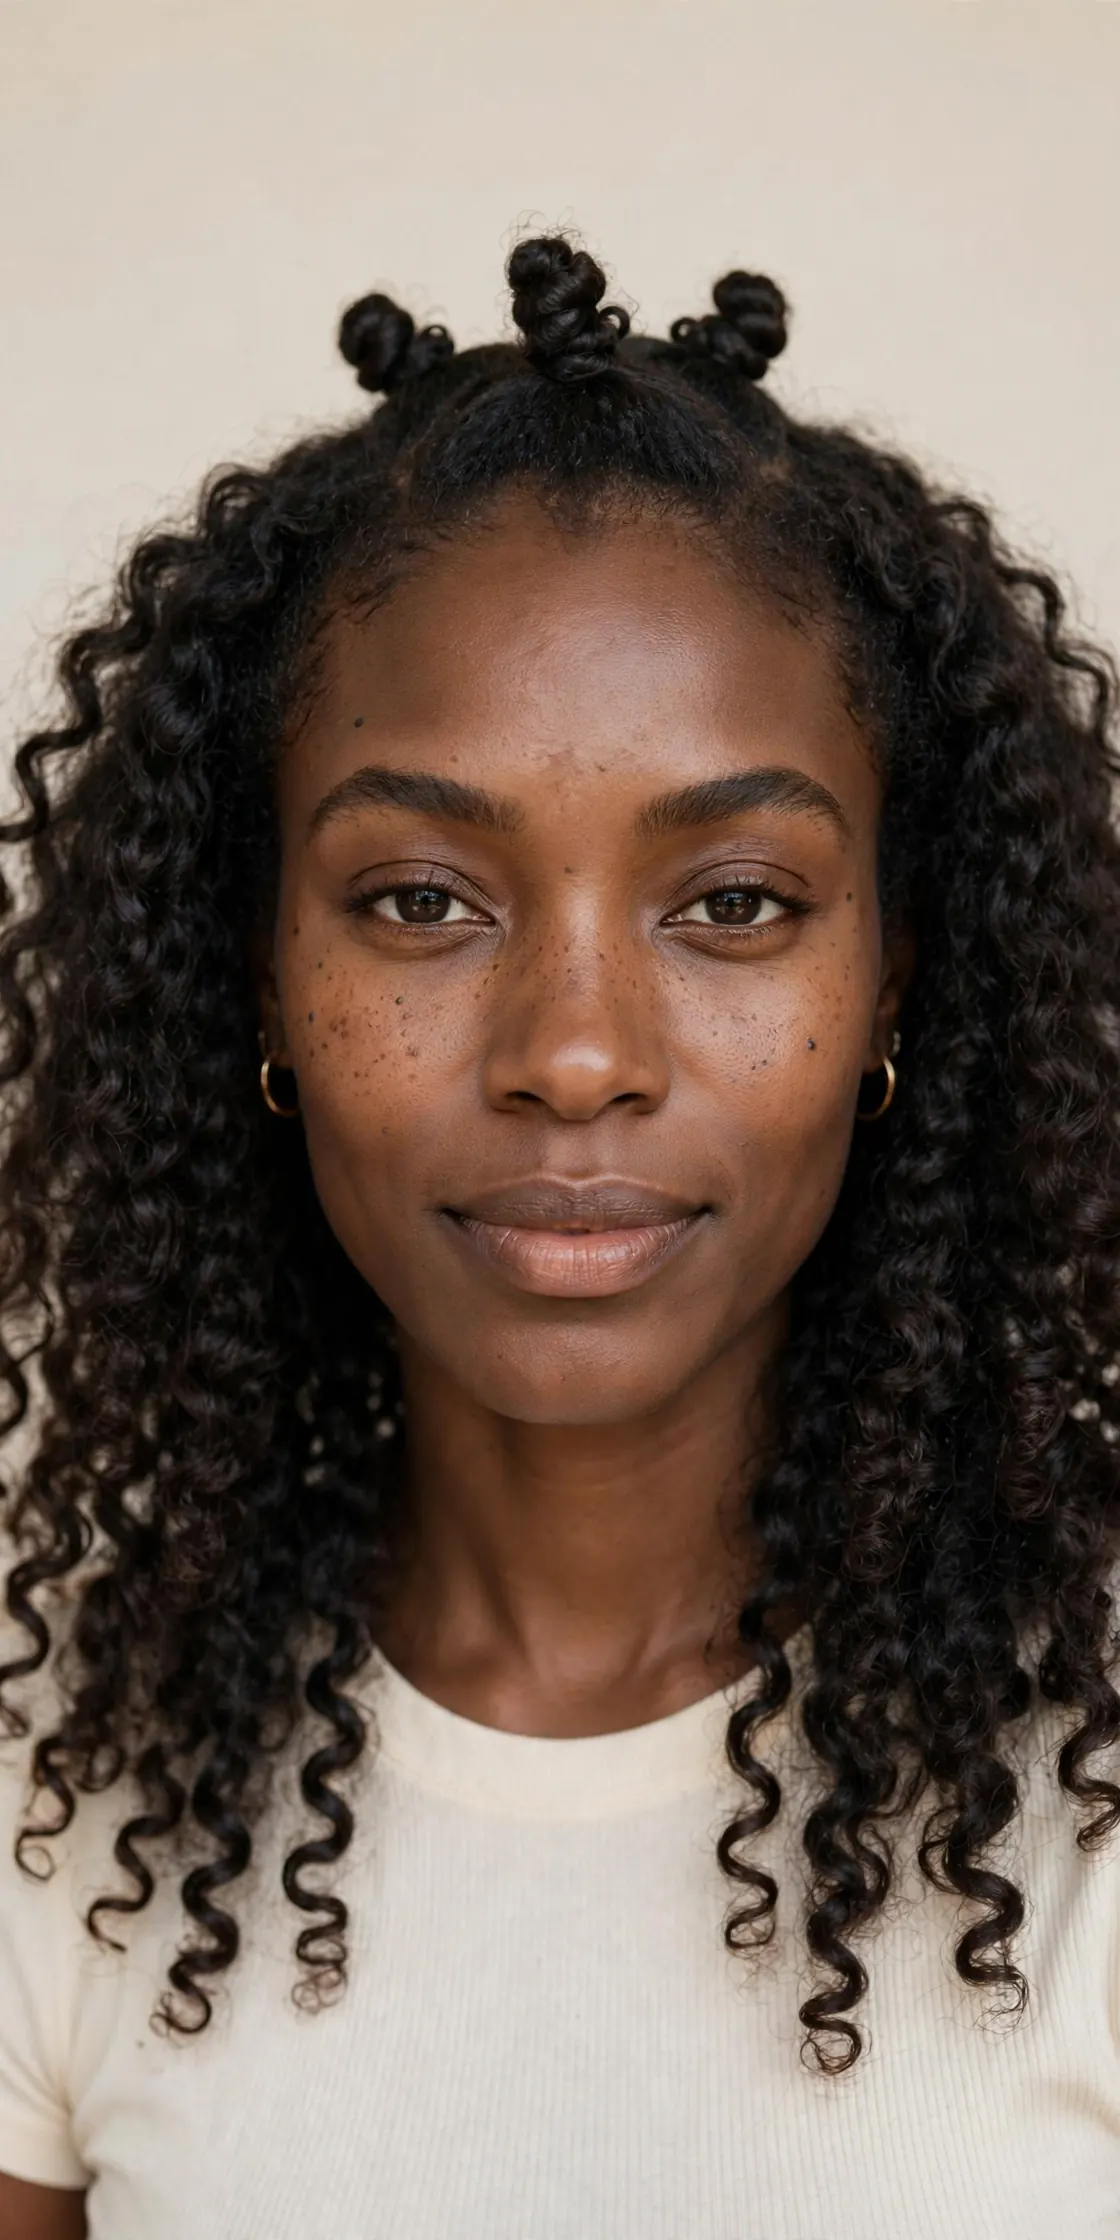
Bantu knots are a classic protective style, but the knot-out — the defined curls left behind after takedown — might be the real star. You get two styles in one: neat, sculptural knots that keep ends fully tucked for days, followed by bouncy, separated curls. It is one of the most versatile protective options for 3C to 4C hair, working from TWA length (tiny knots) to long hair (fewer, larger knots). High-porosity hair holds the set beautifully, and the finished knot-out adds volume that flatters every face shape — ideal when you want a style that shifts from protective to pretty without a new install.
- Install knots on damp, product-loaded hair for maximum definition.
- Use curl cream plus gel on each section to lock in the pattern.
- Keep knots loose at the root to protect edges from tension.
- Dry knots fully — hooded dryer or overnight — before unraveling.
Section hair evenly, twist each section, then wrap it into a small knot against the scalp, tucking the end underneath. Smaller sections give tighter, springier curls; larger ones give loose waves. Wear the knots two to four days as your protective style, covered with a satin scarf at night. For the knot-out, coat fingers with light oil, gently separate each knot, then separate curls further for fullness — but do not over-separate or you will create frizz. The knot-out lasts three to five days; at night, re-knot two to four large sections or pineapple the curls.
Crochet Curls for Instant Protective Volume
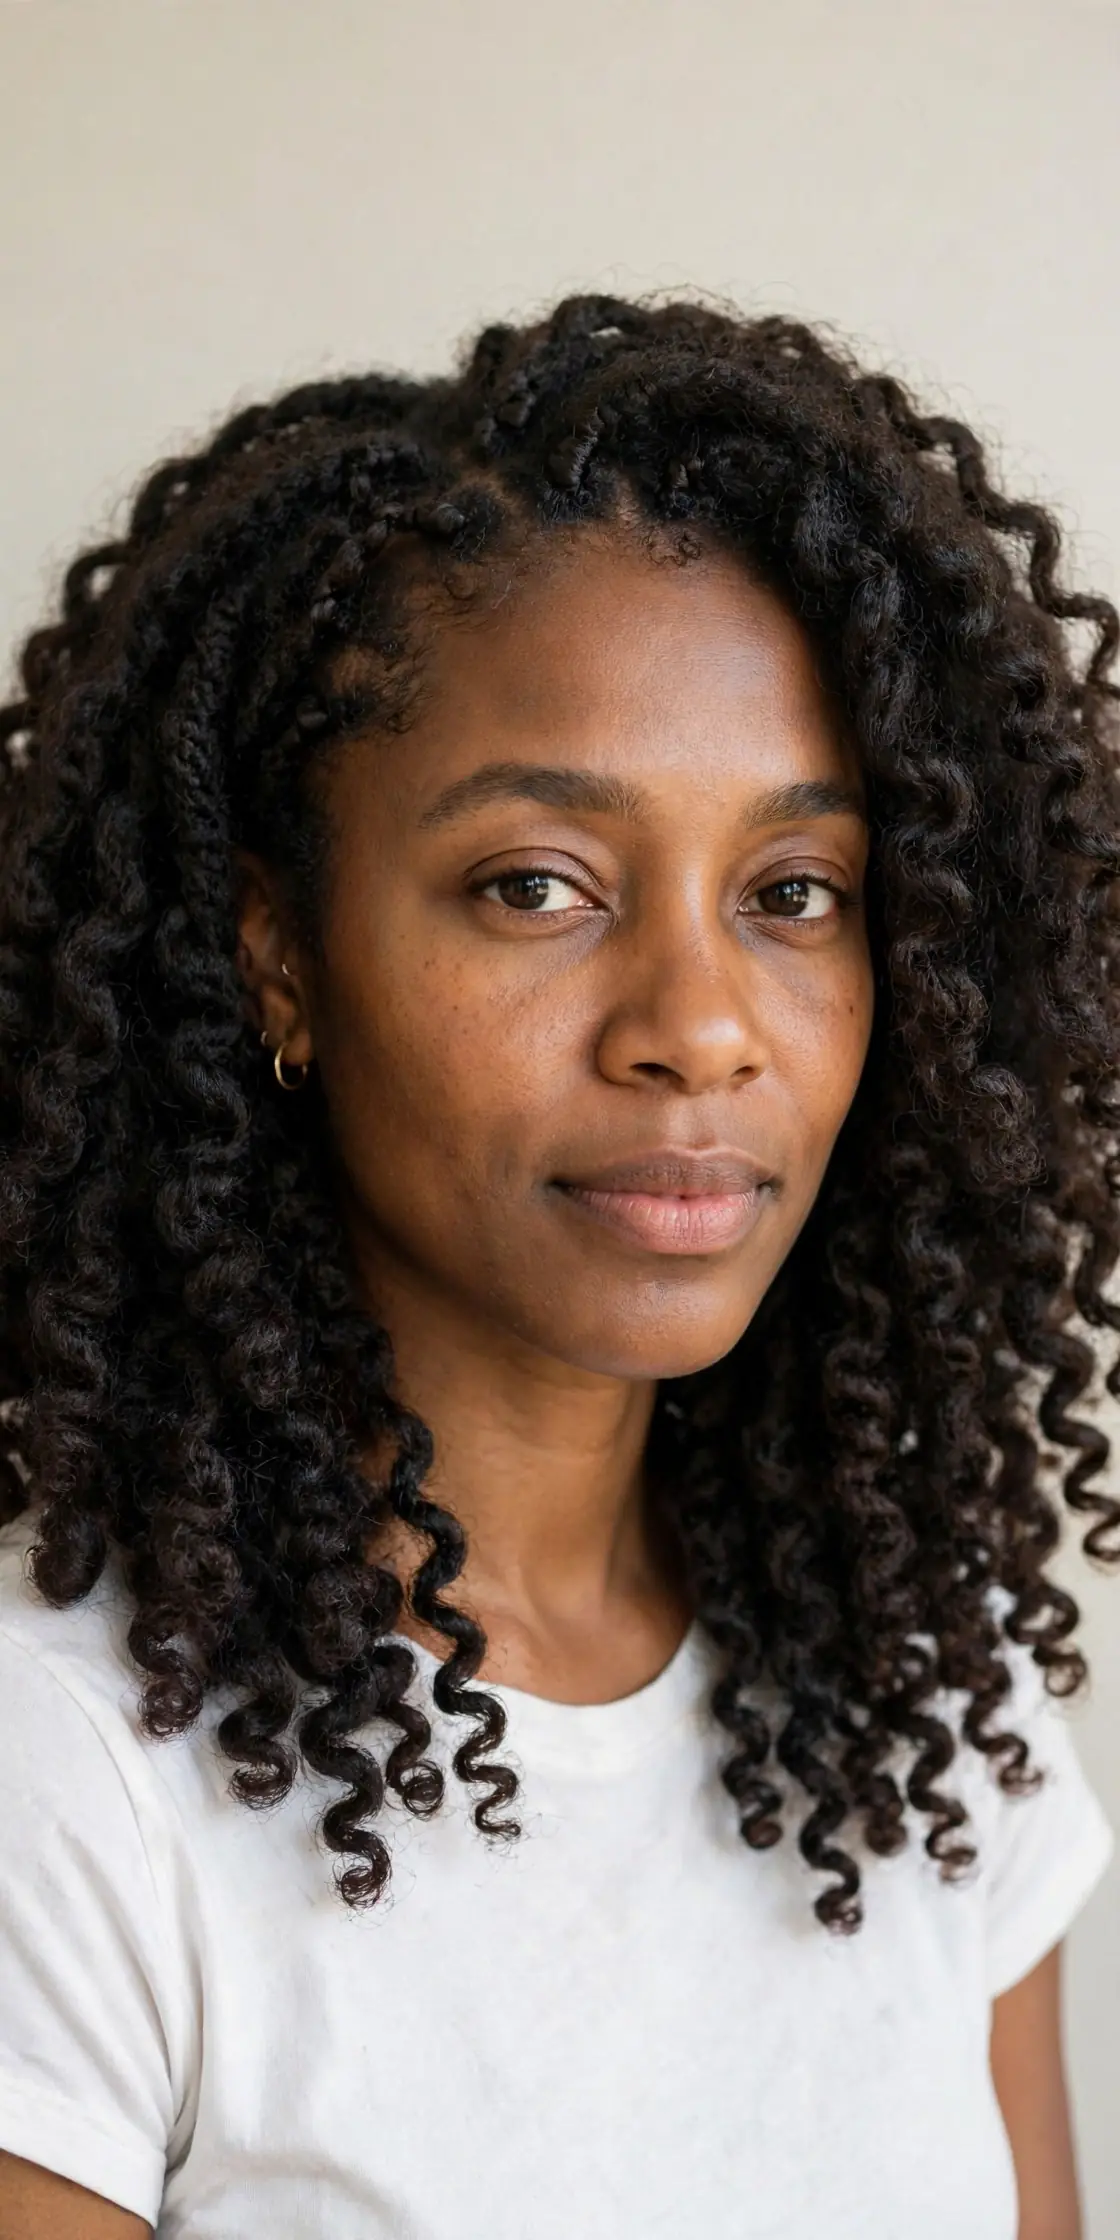
Crochet installs are the shortcut to a full, gorgeous protective style without a six-hour braiding appointment. Your natural hair is cornrowed flat underneath while pre-curled hair is looped through with a crochet needle — the result looks like a head full of your own bouncy curls while your real hair rests tucked away for weeks. It is ideal for trying a different texture or length, and suits anyone whose hair is long enough to cornrow. Low-density naturals love crochet because the added hair creates otherwise impossible volume, and ends stay completely hidden year-round.
- Get small, flat cornrows as the base so the install lies smoothly.
- Choose crochet hair that mimics your curl pattern for a seamless blend.
- Moisturize cornrows with a light oil before the hair is added.
- Fluff and separate crochet curls with fingers, never a brush.
Ask for small feed-in cornrows and a crochet pattern with a natural-looking part — an invisible-part row keeps it realistic. The install takes one to two hours and lasts four to six weeks. At home, spritz cornrows underneath with diluted leave-in once or twice weekly, keep added curls moisturized with a light refresher, and always sleep in a satin bonnet. Re-twist a few pieces around your finger to refresh definition. At takedown, cut the knots carefully, remove the crochet hair, take down cornrows gently, then clarify and deep condition.
Sew-In Weaves with Gentle Leave-Out Care
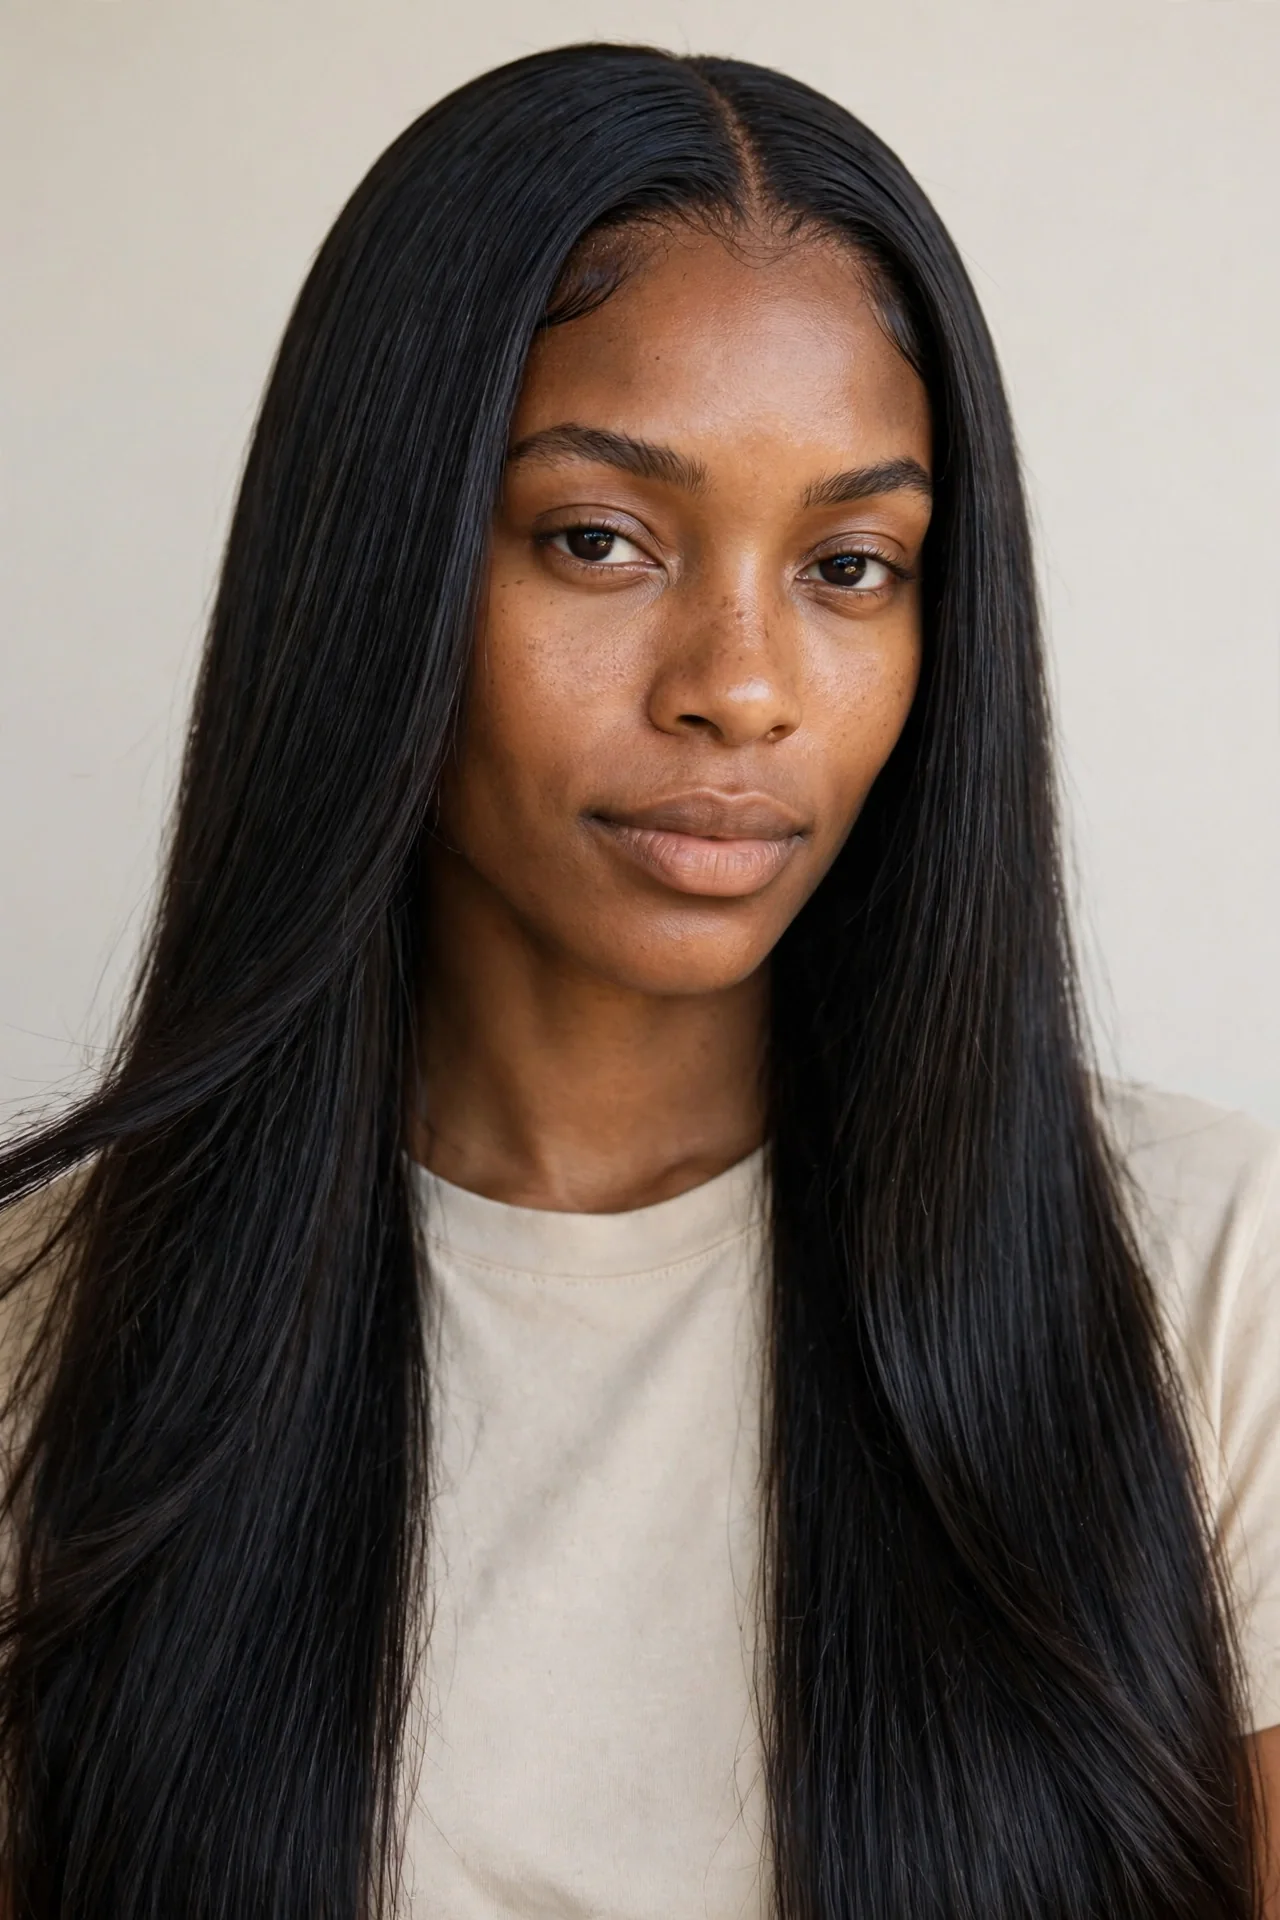
Sew-in weaves remain one of the most complete protective styles because nearly all your natural hair stays braided down for weeks. Extensions are sewn onto cornrows, giving instant length and versatility while your own hair rests and retains moisture undisturbed. The leave-out — the small section left out to blend — needs the most attention since it faces daily heat and styling; a closure or frontal eliminates leave-out entirely and is worth considering for maximum protection. Sew-ins suit medium-to-long natural hair that braids flat, across every curl pattern.
- Ask for small, even cornrows that distribute weft weight evenly.
- Choose a closure if you want zero leave-out and full protection.
- Keep leave-out minimal — no wider than two inches — to limit heat damage.
- Oil braids underneath weekly with an applicator bottle.
Ask the stylist to braid straight back with consistent, moderate tension — braids that are too tight cause breakage and thinning edges, defeating the purpose. If you keep leave-out, flat-iron it only on wash day with a heat protectant every time. Underneath, keep the scalp comfortable with a spray of water, leave-in, and a drop of oil. A sew-in lasts six to eight weeks; wash the install every one to two weeks with diluted shampoo, focusing on the scalp, and dry thoroughly to prevent mildew. At takedown, cut the thread carefully — never your braids — then unravel and detangle slowly.
Starter Locs: A Long-Term Protective Journey
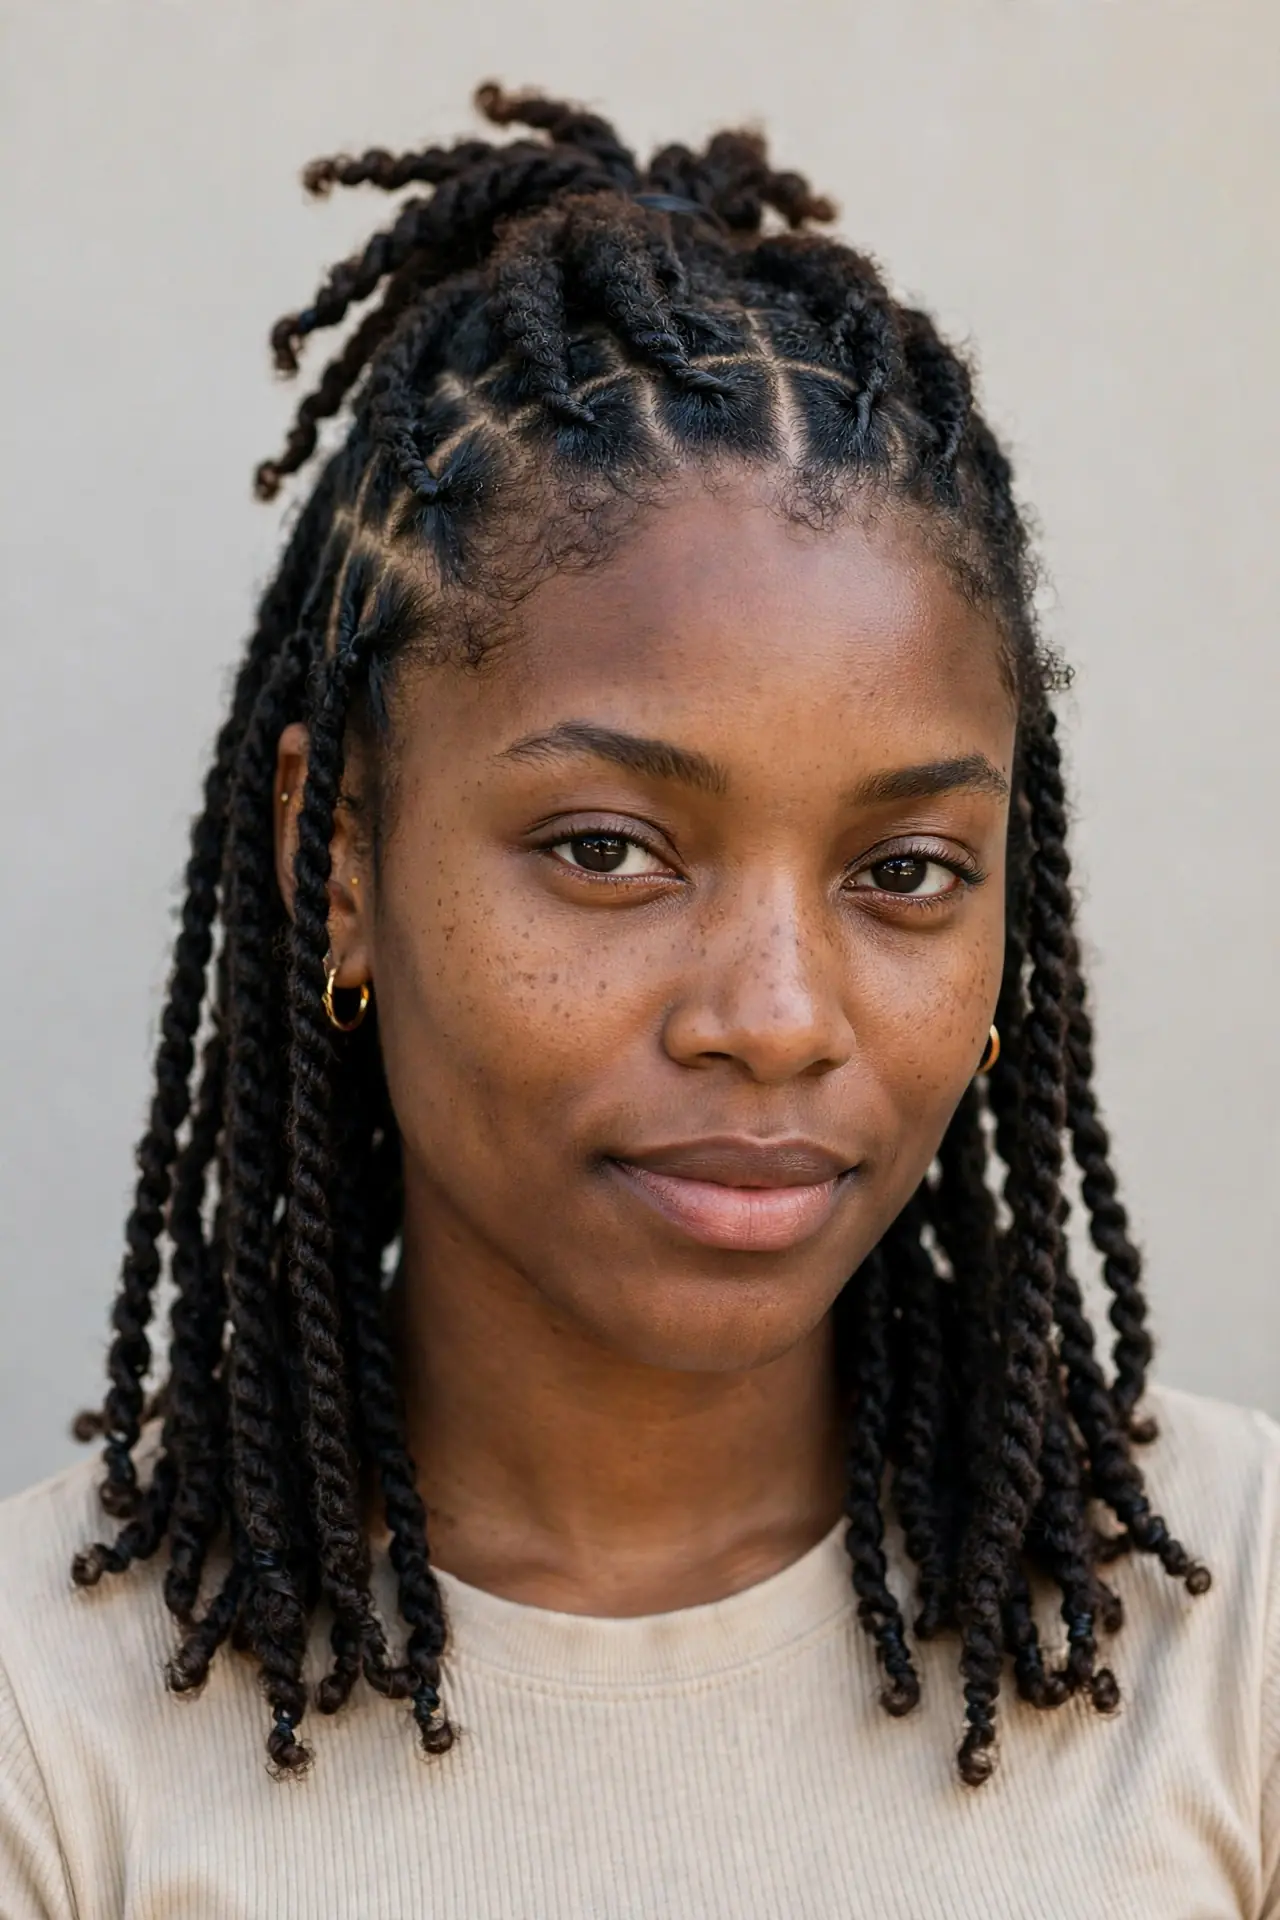
Starting locs is the ultimate commitment to protective styling — not a style for weeks, but a journey that keeps hair in its most protected state for years. Once loc’d, hair is permanently gathered: virtually no daily manipulation, no heat, and ends always tucked into the loc itself. Starter locs suit 4A to 4C textures most naturally, but 3C hair locs beautifully with two-strand twists or interlocking. The early “ugly phase” is temporary, and starter locs are surprisingly versatile — barrel twists, updos, and rodded curls all work along the way. Many naturals find their hair thrives like never before once loc’d.
- Choose your starter method — coils, twists, or interlocking — with a loctitian.
- Keep starters moisturized with light oils; heavy products cause buildup.
- Retwist new growth every four to six weeks, not sooner.
- Protect starters nightly with a satin bonnet or durag.
Your first loctitian appointment should include a consultation on loc size — sisterlocks and microlocs take longer to install but offer the most styling versatility, while larger traditional locs mature faster. In year one, wash every one to two weeks with residue-free shampoo and resist over-retwisting, which thins roots. Frizz in the early months is completely normal. For trustworthy guidance on scalp health and textured-hair care, the American Academy of Dermatology publishes dermatologist-reviewed advice worth bookmarking. After year one, locs settle into a low-maintenance rhythm many describe as total hair freedom.
Twist-Outs That Protect the Ends
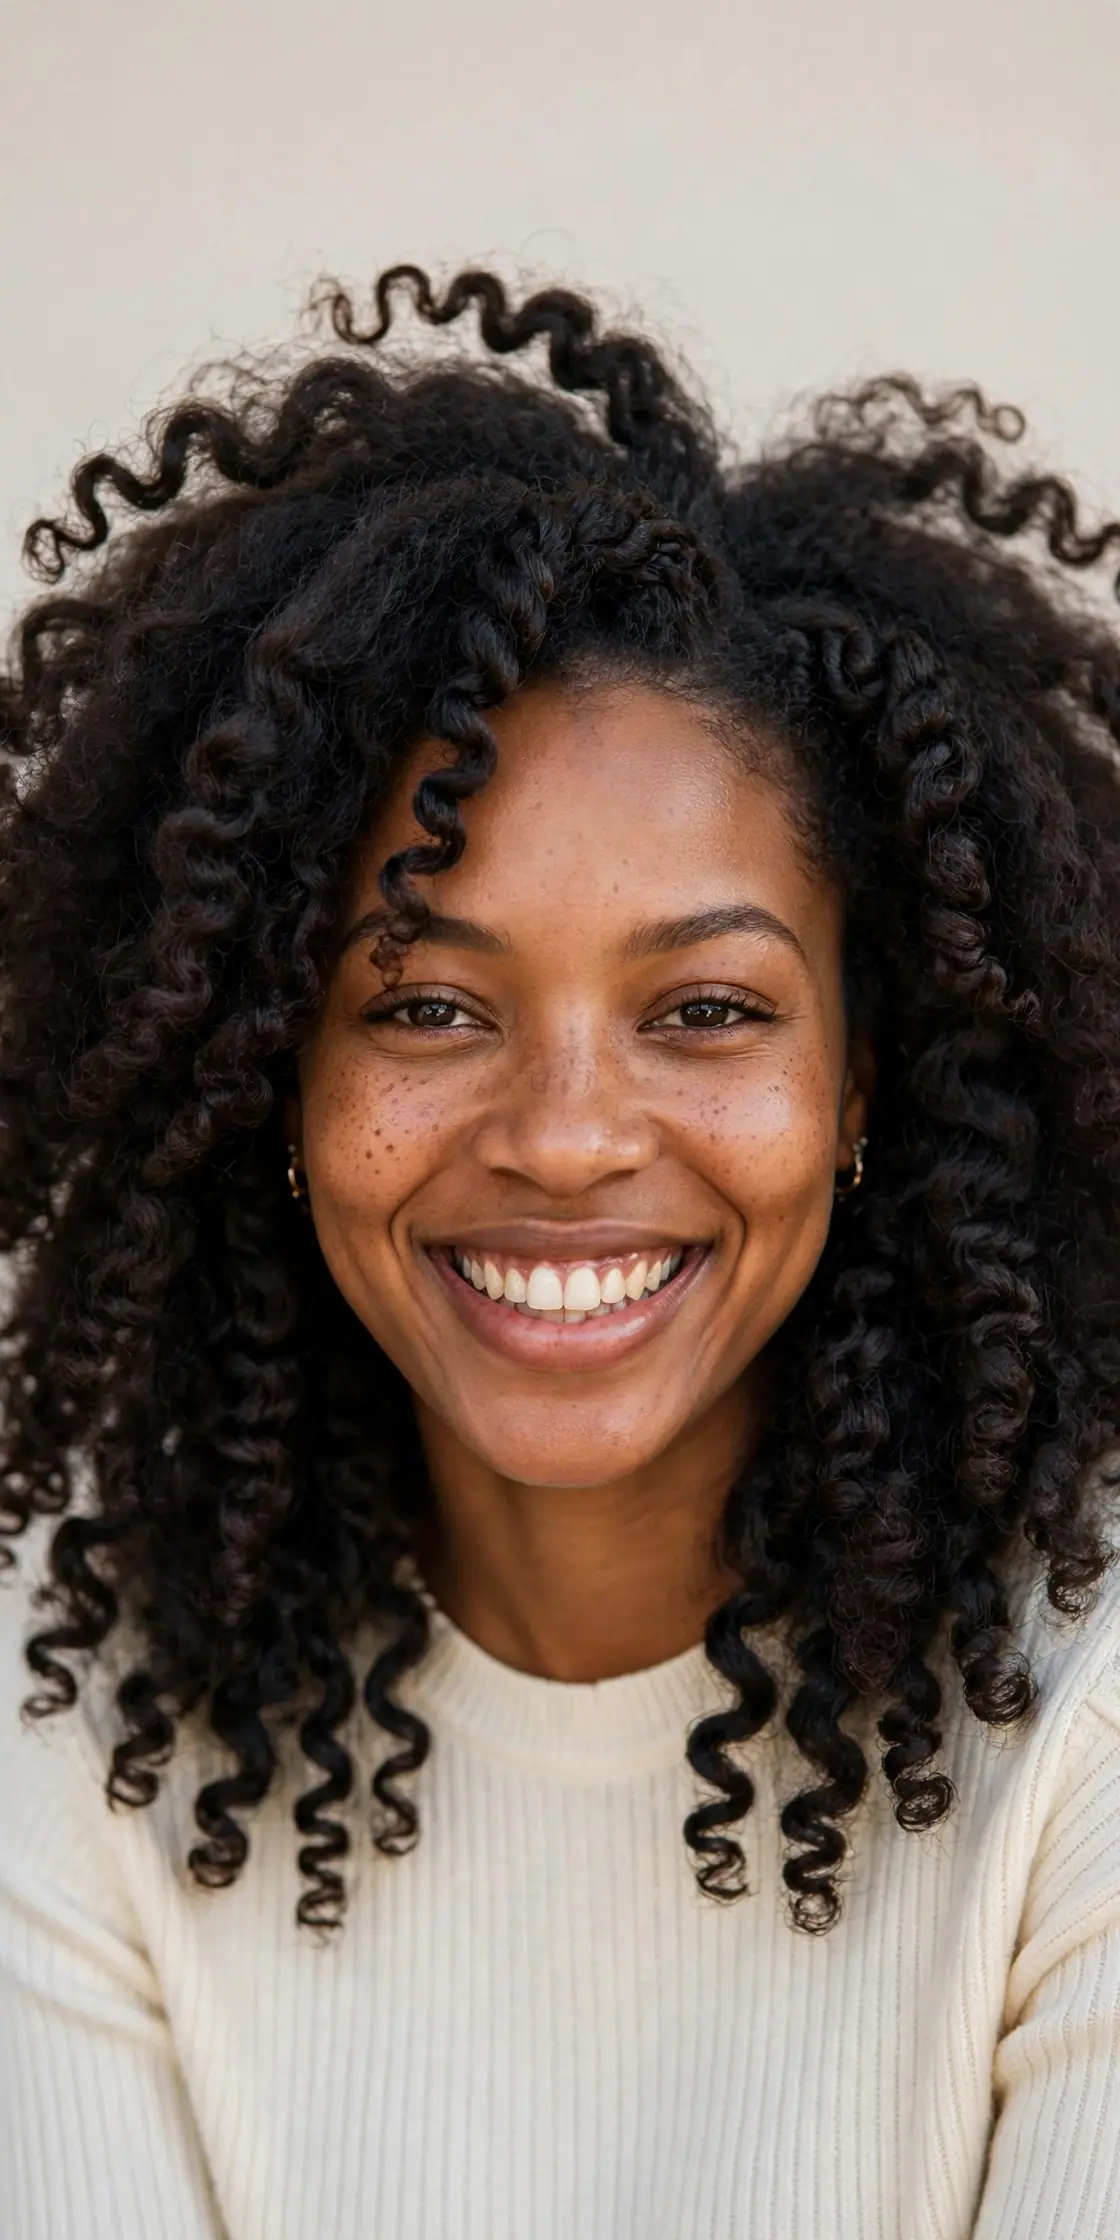
A well-executed twist-out gives you defined, touchable curls with the end protection of a twisted style. The trick: instead of separating every curl to the tips, keep the last inch loosely intact or pin ends up, so the oldest part of your hair stays shielded. This makes it a smart protective choice for 3B to 4C textures, on short, medium, and long hair alike. Medium-porosity hair holds twist-outs longest, while high-porosity hair benefits from heavier butters that seal the set. The style adds gorgeous volume — and because it is heat-free, there is zero thermal damage.
- Twist on damp hair in even sections for consistent curl size.
- Use the LOC or LCO method to layer moisture before twisting.
- Separate curls gently with oiled fingers to minimize frizz.
- Leave the final inch of each curl loosely twisted to shield the ends.
Install twists the night before on freshly washed hair — two-strand twists are the classic base, with flat twists at the front for extra edge control. Let them dry completely overnight; taking down damp twists is the top cause of frizz. In the morning, oil your fingertips, unravel each twist, and separate each curl into two or three pieces, keeping tips together. For extra protection, gather hair into a loose pineapple or low bun whenever you are not showing it off. At night, re-twist four to six large sections or pineapple under a satin bonnet. A good twist-out lasts four to seven days.
Satin-Scarf Pineapple: Nighttime Protection for Natural Hair
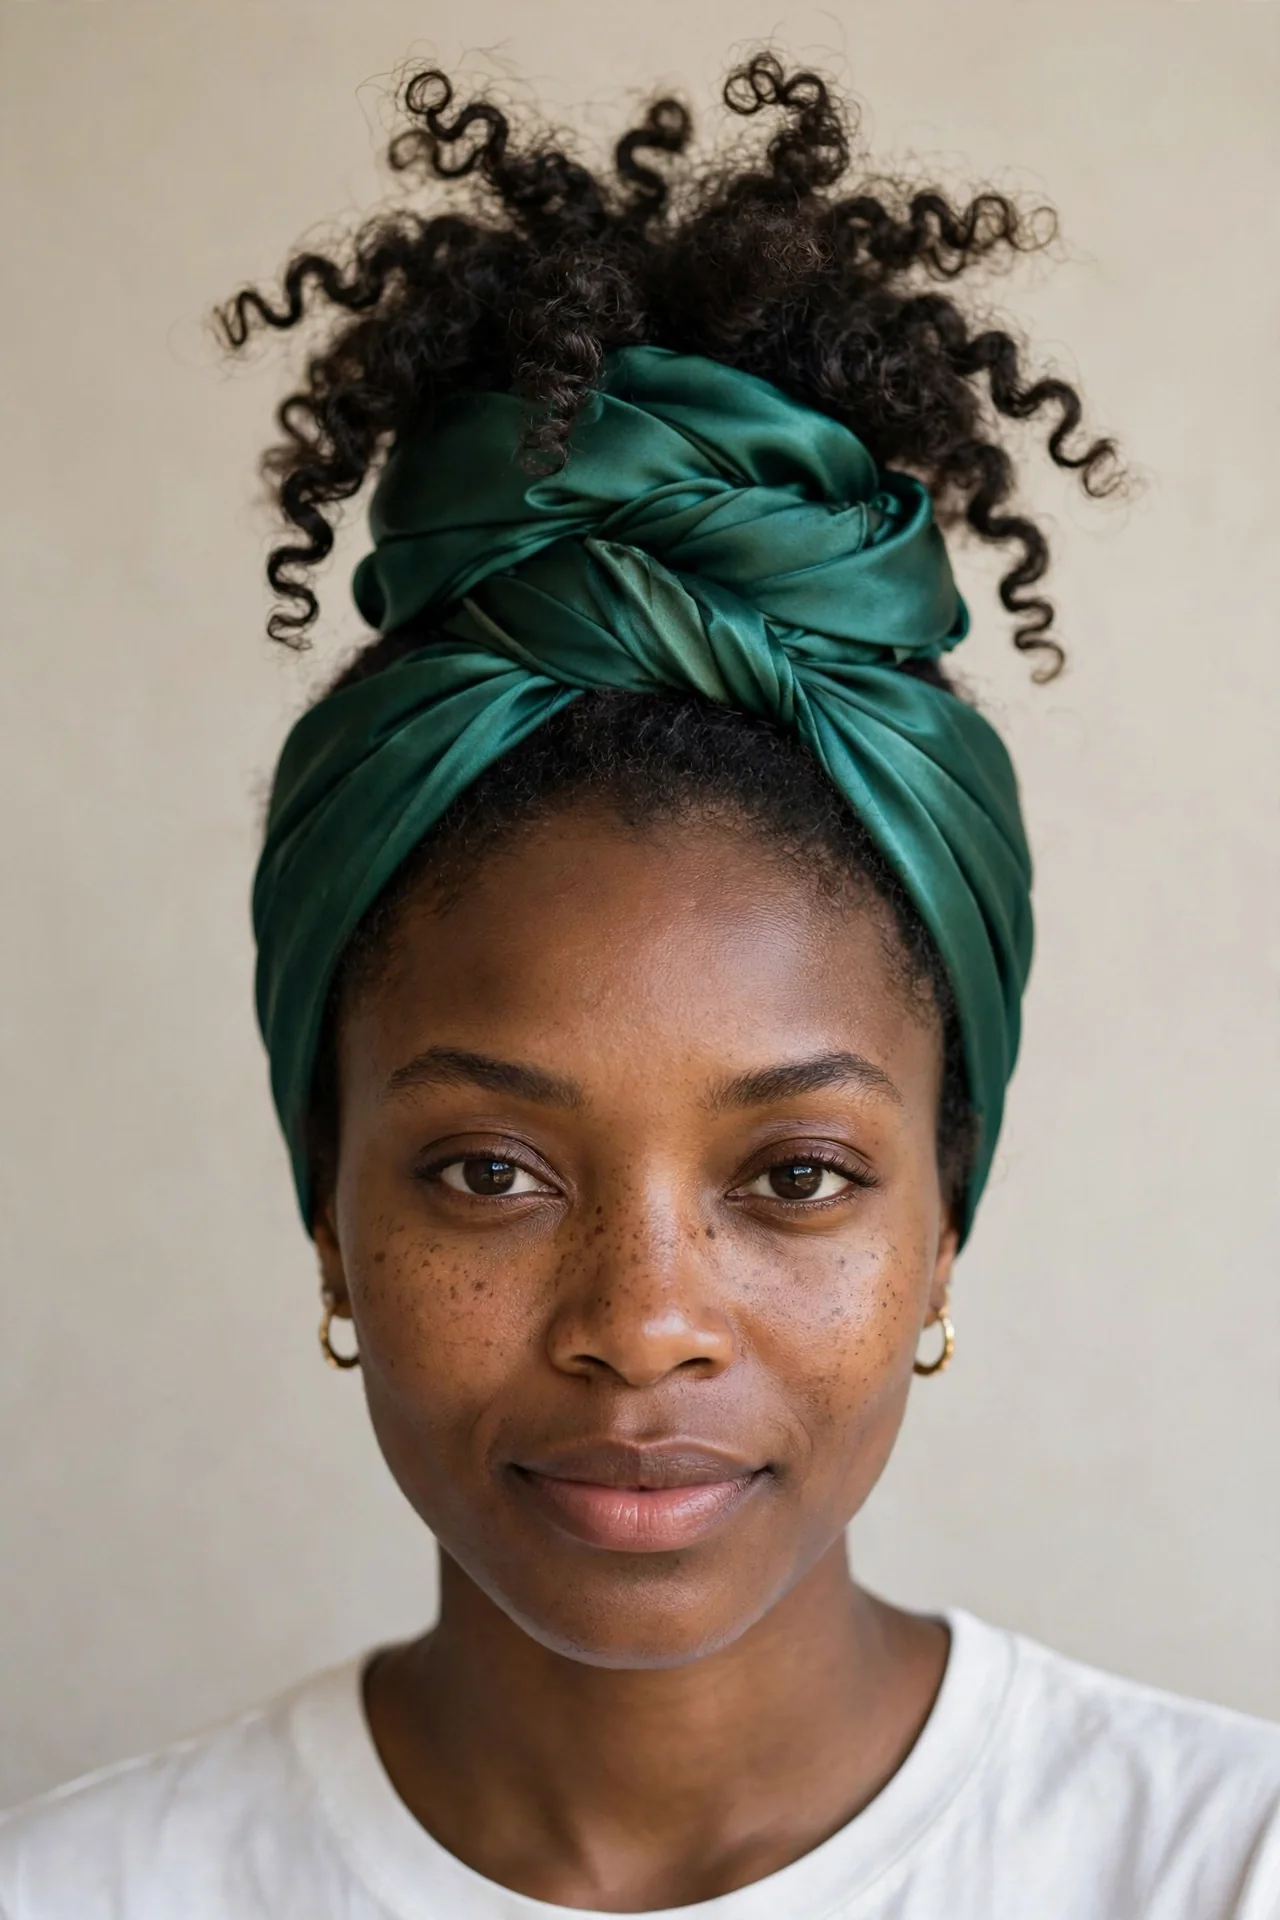
Every protective style lives or dies by what happens at night — and the satin-scarf pineapple is the routine that makes them all last longer. Gathering curls loosely at the very top of the head and wrapping them in satin keeps hair off the pillow, prevents friction, and preserves definition while you sleep. It is less a daytime style than the secret weapon behind every other style’s longevity, which is exactly why it earns its own spot. It works for every curl pattern from 3A to 4C and every length that reaches the crown. Naturals who pineapple consistently report less morning frizz and fewer tangles.
- Gather hair loosely at the crown — never pull tight or use elastics.
- Wrap with a satin or silk scarf, not cotton, to prevent moisture loss.
- Tuck the ends inside the scarf instead of leaving them hanging out.
- Re-moisturize lightly before re-pineappling if hair feels dry.
Use a satin scrunchie to loosely gather curls into a high, floppy ponytail, then cover with a satin scarf or bonnet. For shorter hair, the “multi-pineapple” — two or three small loose puffs — does the same job. If you wear twists or a twist-out, pineapple the twists themselves rather than taking them down. In the morning, remove the scarf, shake gently at the roots, and let curls fall — most days need nothing more than a light fluff. Keep a satin pillowcase as backup for nights the scarf slips off. Sixty seconds, almost no cost, weeks of extra style life.
Low-Manipulation Wash-and-Go Protective Routine
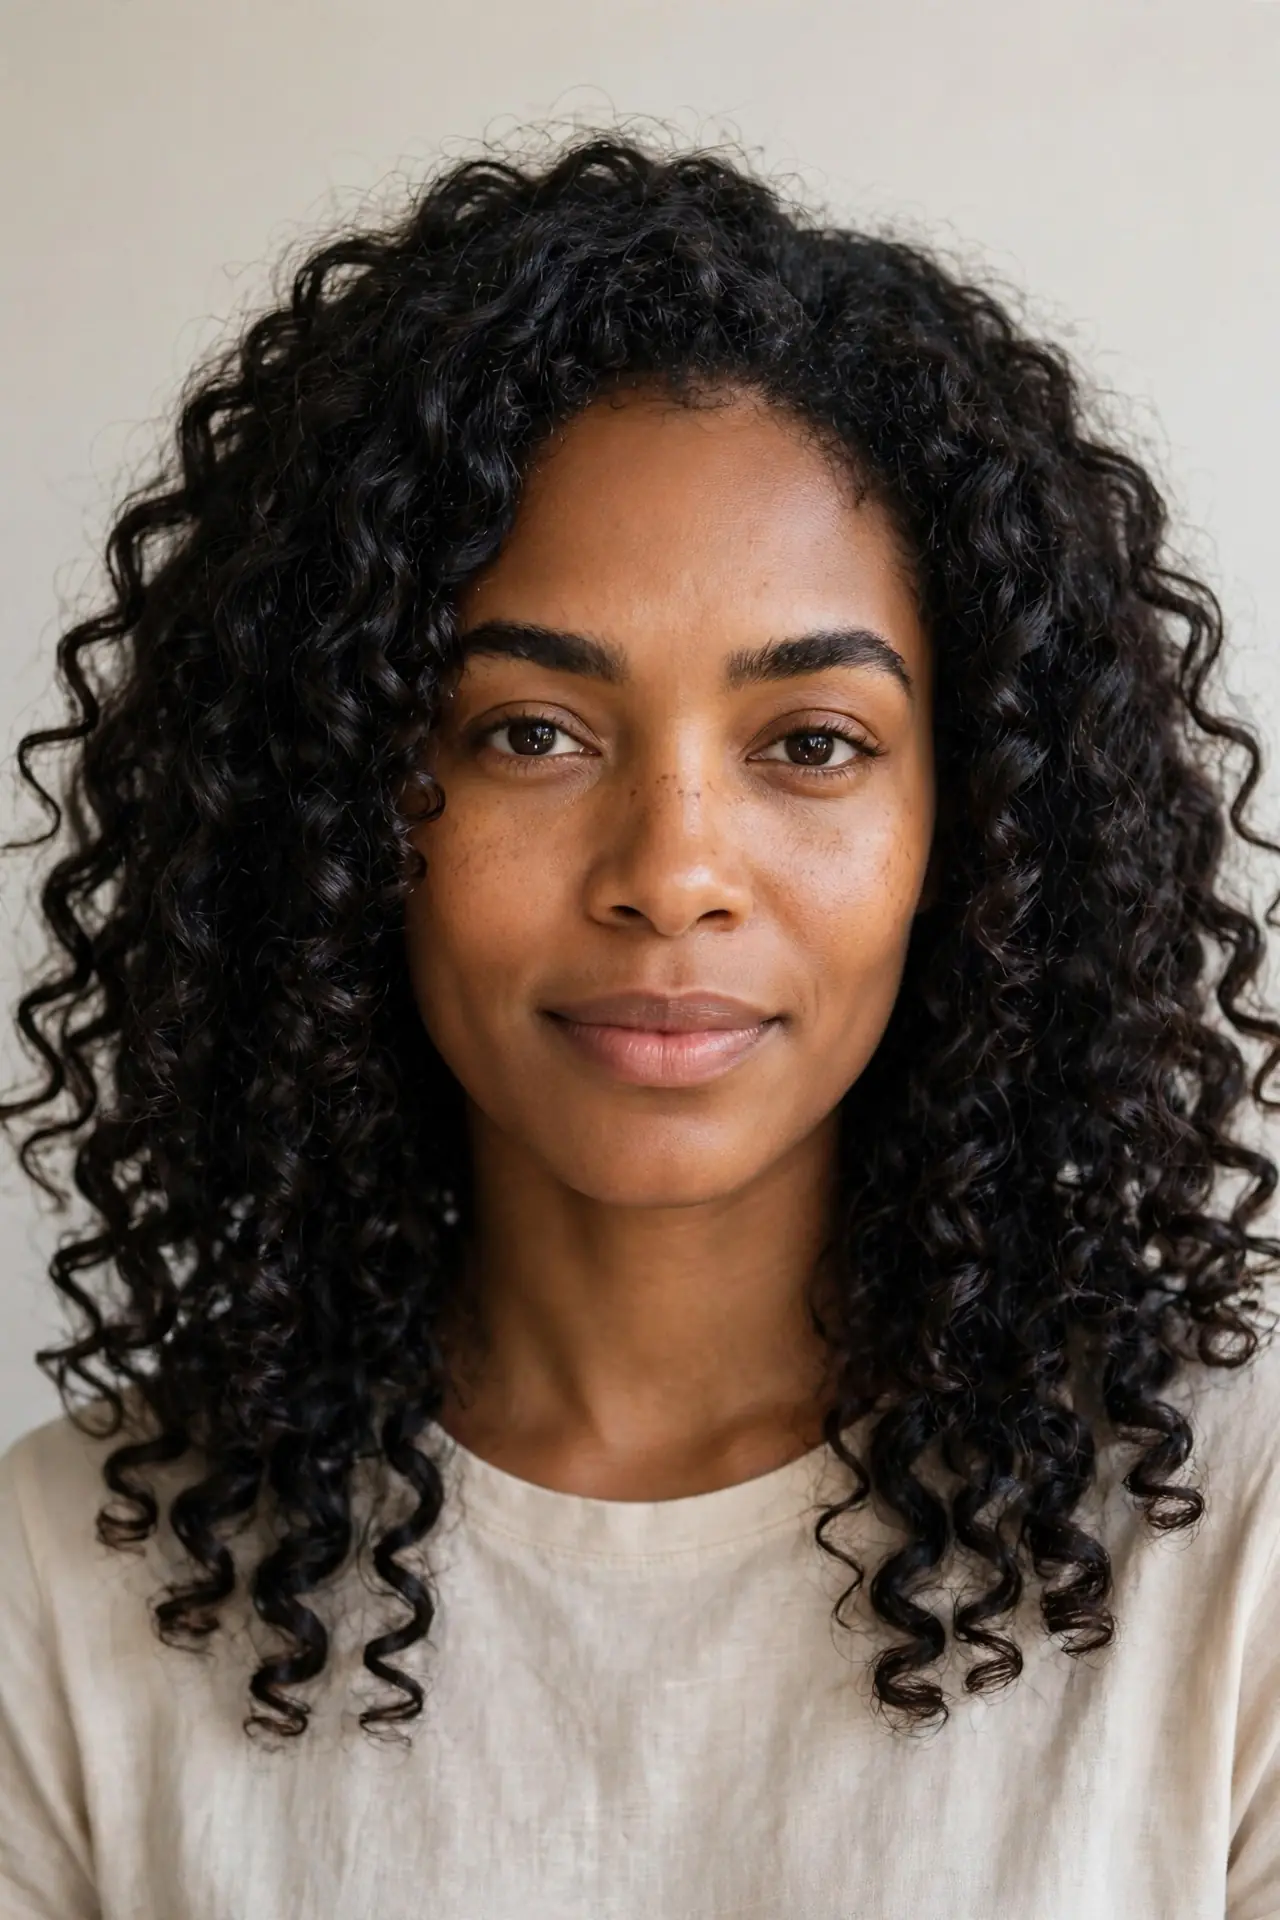
A wash-and-go does not have to mean fragile, exposed curls — with a low-manipulation routine, it becomes a legitimate protective style. Define your curls once on wash day, then leave them completely alone until the next wash: no daily re-styling, no brushing, no touching — just pineappling at night and refreshing as needed. This suits 3A to 4C textures, though tighter coils may need heavier products to hold definition through the week. It is perfect for naturals who love their real texture and do not want to hide it under installs. High-porosity hair does especially well with layered sealing products.
- Detangle only on wash day with conditioner and a wide-tooth comb.
- Apply products in sections with the praying-hands method for even coverage.
- Layer leave-in, cream, then gel for definition that lasts all week.
- Avoid touching curls once dry — hands off is the whole point.
Wash with sulfate-free shampoo, deep condition, and apply styler to soaking-wet hair in four to six sections. Shingling (raking product through small sections) gives maximum definition for 4C hair; raking plus scrunching suits 3B to 4C. Diffuse or air-dry completely before touching anything, then scrunch out the gel cast with oiled hands and fluff the roots. For the rest of the week, pineapple at night and mist with water when curls look thirsty. Most naturals get five to seven days from one wash-and-go. When frizz finally wins, that is your signal for the next wash day — not a mid-week re-style.
Pinned Goddess Updos for Natural Hair
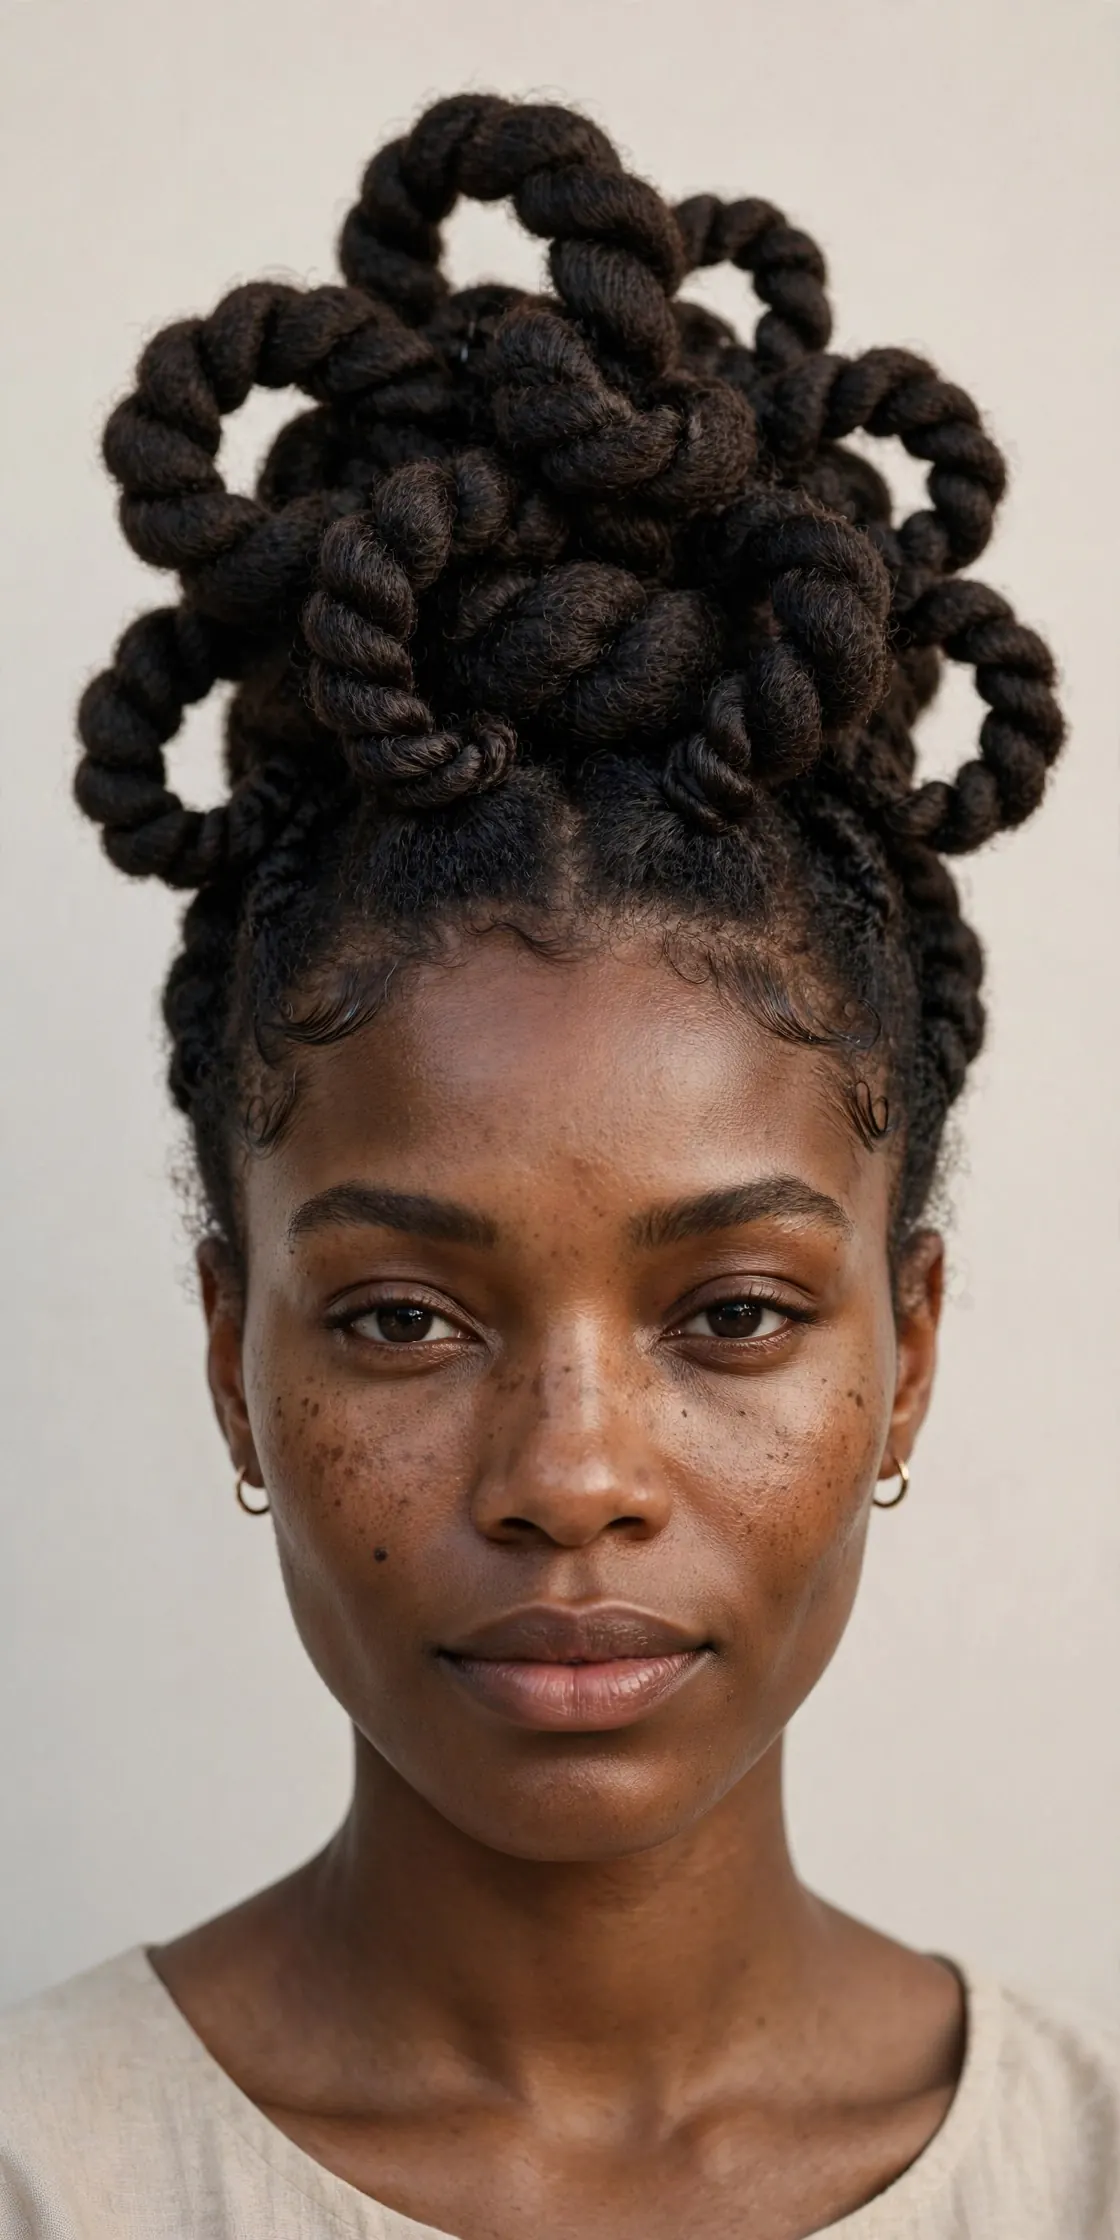
When you want a protective style that looks red-carpet ready, the pinned goddess updo delivers. Hair is twisted, loosely braided, or rolled into an elegant sculpted updo and secured with pins — every end tucked, every strand lifted away from friction. Unlike tight sleek buns that stress edges, the goddess updo is intentionally soft: volume at the crown, artfully pinned pieces, zero hairline tension. It suits medium-to-long natural hair across 3C to 4C textures and is a go-to for weddings, holidays, and professional events — glamour with full protection underneath.
- Start with stretched, moisturized hair for the smoothest sculpting.
- Build volume with pinned twists rather than backcombing.
- Use U-pins and bobby pins instead of tight elastics.
- Mist with a light holding spray, never a drying alcohol-based one.
Stretch hair first with a blow-dryer on low heat or overnight banding — stretched hair sculpts far more easily. Create large two-strand or loose flat twists all over, then pin them into shape: a high sculpted bun, a low chignon, or an asymmetrical sweep. Tuck every end as you pin, hiding the pins inside the twists. If one section misbehaves, simply re-pin it. The style lasts three to five days with a satin scarf at night; refresh the hairline with edge control each morning. At takedown, remove pins carefully and unravel each twist with oiled fingers for a bonus twist-out.
Wig Installs That Protect Natural Hair with Healthy Scalp Prep
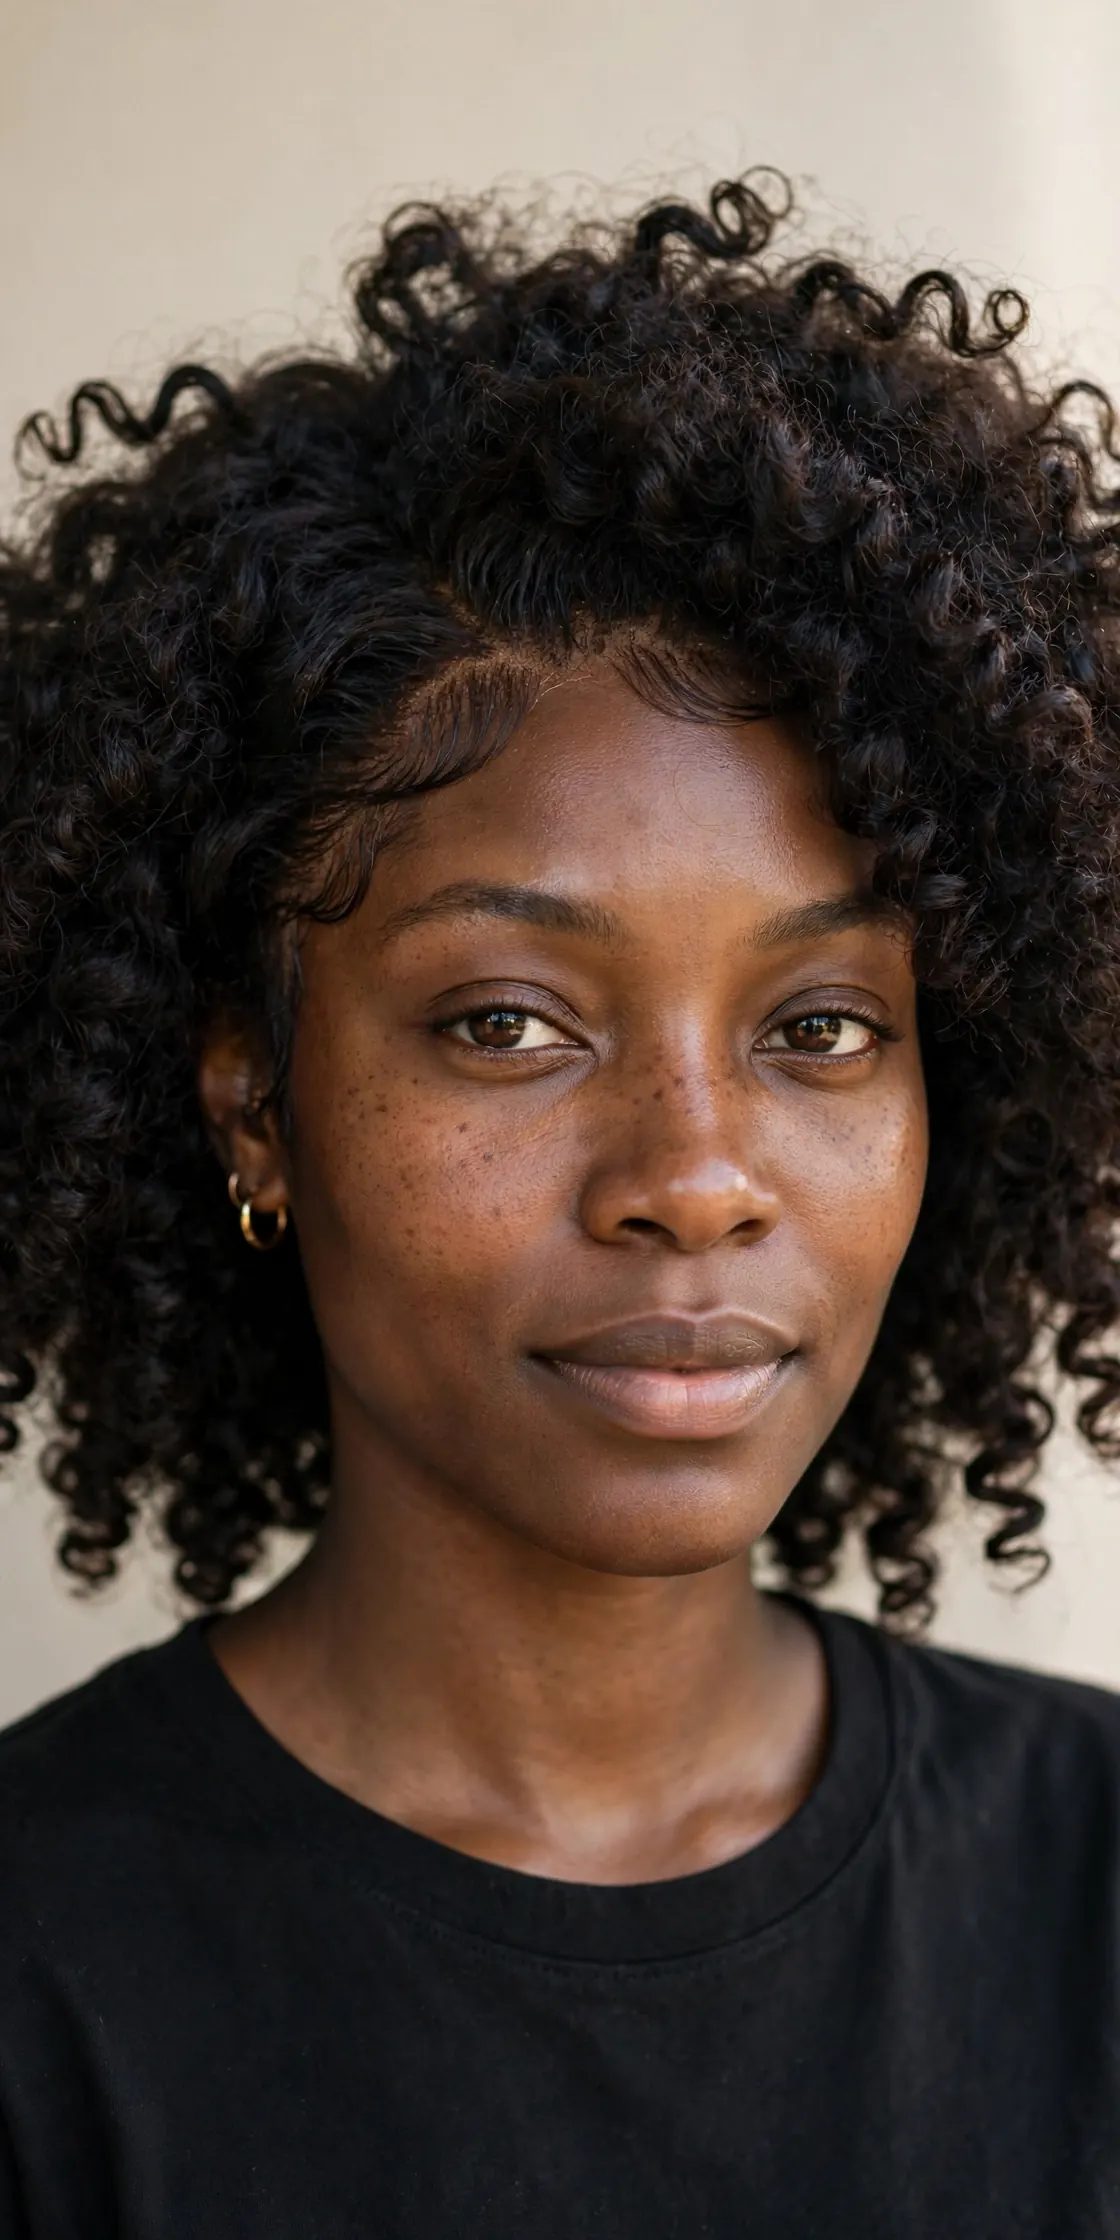
Wigs are the ultimate versatility play: endless length, color, and texture changes while your real hair rests completely hidden underneath. But a wig only protects your hair if the foundation is cared for — neglected cornrows under a wig invite breakage, dryness, and thinning edges. Done right, a wig routine is one of the safest long-term protective strategies. It suits every curl pattern and length, and it is ideal for switching looks without chemical or heat damage. Glueless and headband wigs are the gentlest options since they skip adhesives entirely.
- Cornrow hair flat underneath — small braids, moderate tension.
- Moisturize braids and scalp before every wig application.
- Choose glueless or headband wigs to avoid adhesive edge damage.
- Remove the wig nightly or give your scalp regular breaks.
Prep is everything: wash and deep condition, cornrow into flat even braids, and apply light oil to the scalp. A wig cap shields braids from friction against the wig’s interior. With lace wigs, apply a scalp protector first and never rip lace off — dissolve glue with the proper remover. Under the wig, lift it every few days to oil the scalp and check for dryness, and wash cornrows every one to two weeks. Never sleep in a glued wig, and take full breaks between installs so edges recover. With this routine, many naturals retain impressive length while enjoying a different hairstyle daily.
Conclusion
Protective styling is really a mindset shift: instead of fighting your texture, you work with it, giving your ends shelter and your scalp breathing room to thrive. Whether you fall in love with chunky twists, commit to a loc journey, or master the sixty-second pineapple, the best of these protective hairstyles for natural hair share one thing — they ask almost nothing of you day to day, and they give back length, health, and versatility all year long. Rotate two or three favorites, keep your night routine sacred, and do not skip moisturizing check-ins under installs. For quick daytime polish with your protective looks, cute headband hairstyles add instant charm to puffs, pineapples, and updos. Your curls have always known how to grow — now give them the protection to show it. If you’re embracing your natural texture beyond protective styles, our 12 natural hairstyles celebrate wash-and-gos, twist-outs, and big afros.


One Comment